Low battery power is the primary reason for an instax mini 12 light blinking during operation. It’s safe to keep using the camera once you replace the batteries, provided the device isn’t physically damaged or wet. To confirm this, remove the current batteries and insert two fresh, high-quality AA alkaline batteries, as the camera won’t function correctly with low voltage. If the indicator light stops flashing and the lens extends normally, your issue is resolved. This simple power check usually restores full functionality without needing professional repair or technical support.
What the Instax Mini 12 light blinking means
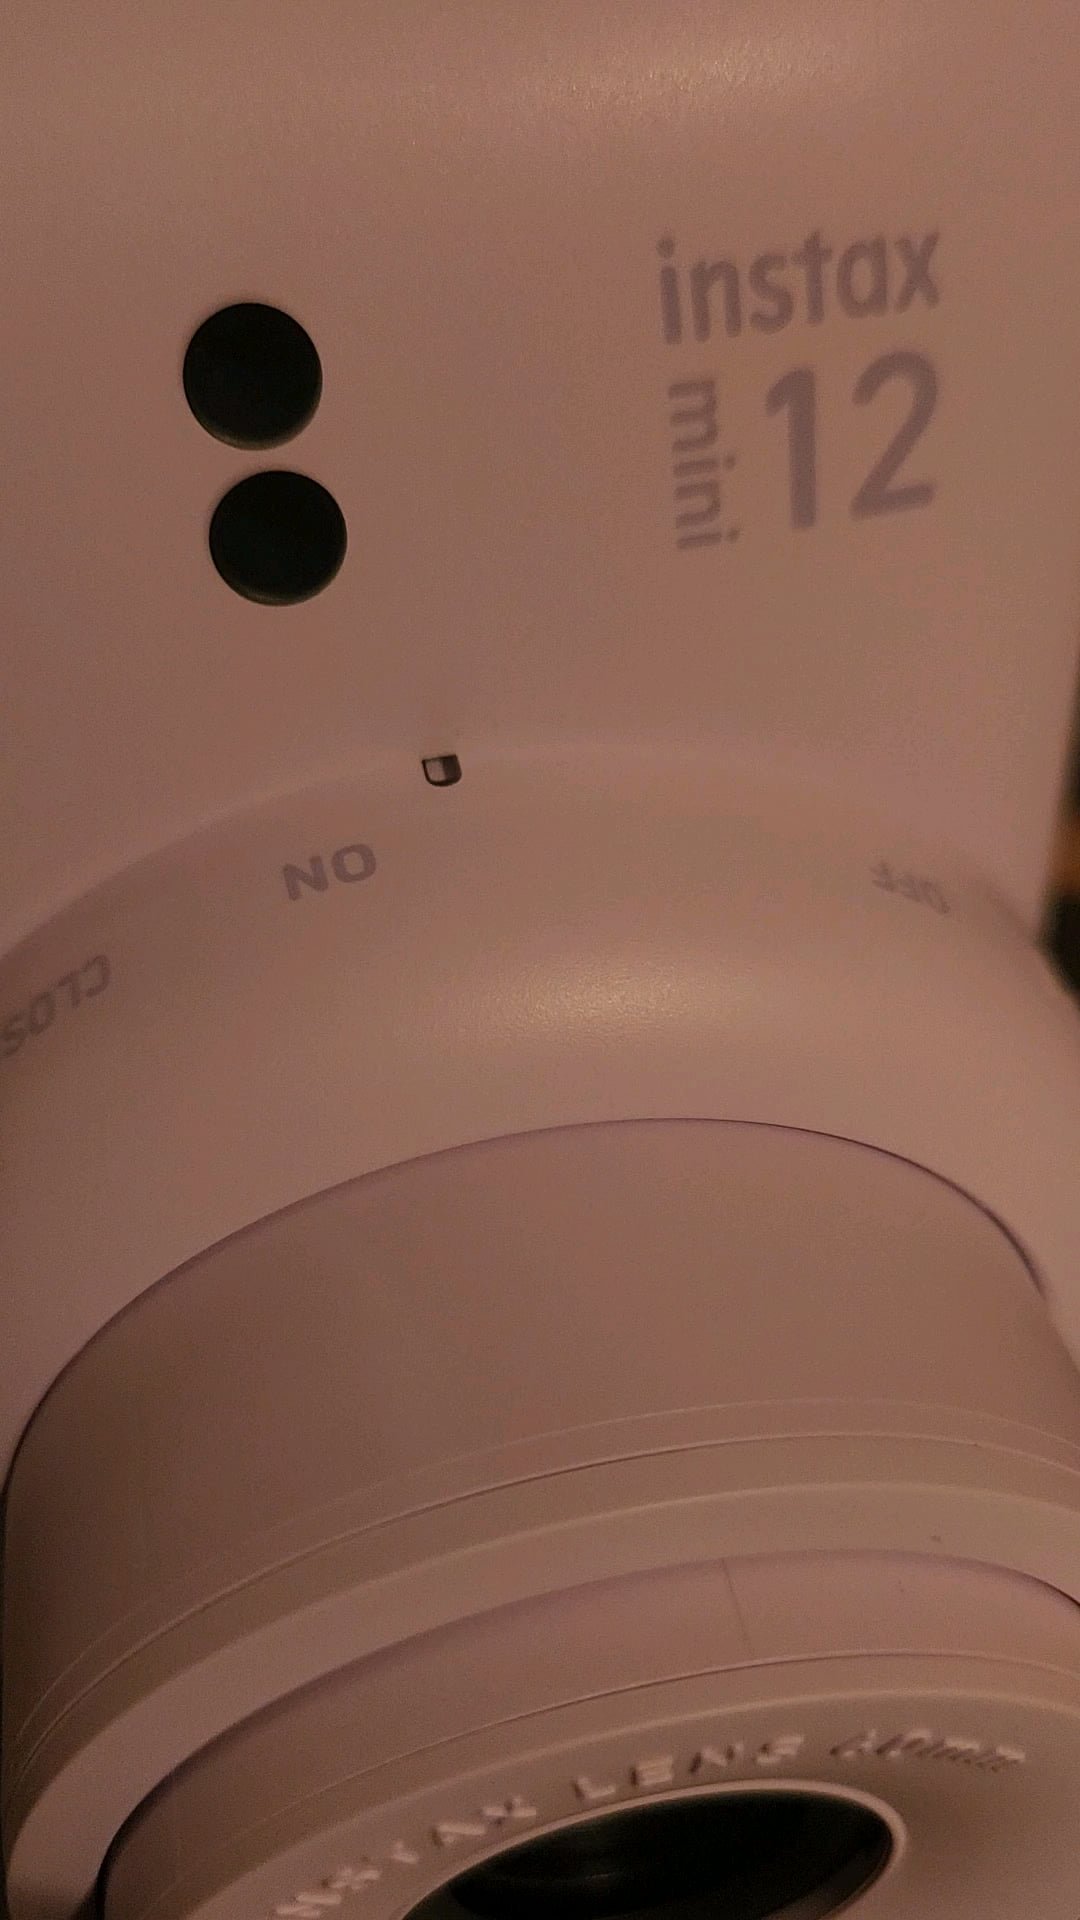
The blinking light acts as a status indicator for the camera’s internal systems, primarily focusing on power delivery and film processing.
| What you notice | What it usually means | What to do first |
|---|---|---|
| Orange light flashes fast | Batteries are almost dead | Replace both AA batteries |
| Light blinks during shot | Motor is struggling | Check film pack count |
| Light blinks after shot | Film is jammed inside | Open back door carefully |
| No light appears at all | Batteries are inserted wrong | Check battery polarity signs |
| Light blinks when off | Internal error has occurred | Remove batteries for minute |
Most users mistake a solid orange light for a hardware failure. You can test this by applying firm pressure to the battery door while the camera is powered on.
If the light blinks rapidly after you press the shutter, don’t force the film door open. Forcing it will likely tear the film chemistry pouch, which can permanently damage the internal rollers. Instead, wait for the motor to cycle fully before attempting to clear the jam.
If you encounter the “no light” status, check the metal contacts inside the battery bay. Oxidation buildup often prevents a clean circuit. A quick wipe with a dry cloth usually resolves the problem instantly.
Low energy levels in the cells
The most frequent cause for a blinking light is that your batteries lack the power required to drive the mechanical lens and the film ejection motor. When the voltage drops below the threshold needed for these tasks, the camera warns you by flashing the LED. You can confirm this is the problem by noting if the lens moves very slowly when you turn the camera on or if the flash fails to fire.
To fix this, you must replace both batteries simultaneously. Never mix old and new batteries, as this causes uneven power distribution and can damage the internal circuits. If you use rechargeable batteries, ensure they’re fully charged, as some nickel-metal hydride batteries provide lower voltage than standard alkaline cells, which may trigger the blinking light even when they seem full. Once you insert fresh, high-capacity alkaline batteries, the camera should power on with a steady light. If the light stops blinking and the lens extends smoothly, the camera is ready for use. This assumes you’re using standard 1.5V batteries; if you use non-standard or low-output batteries, the camera may continue to signal an error regardless of the charge level. Always verify the battery type matches the Instax mini 12 owner’s manual for optimal performance.
Film ejection and mechanical errors
A blinking light can also signal that the camera can’t move the film properly through the rollers. This happens if the film pack is inserted incorrectly or if a sheet of film has become stuck. You can tell this is the cause if the light begins to blink immediately after you press the shutter button, rather than when you first turn the camera on.
To fix this, first ensure the film counter window shows a number greater than zero. If the counter displays a dash or is stuck, the camera thinks the pack is empty or damaged. You should check the film door to ensure it’s locked tightly; if the door is slightly ajar, the light may blink to prevent you from exposing the film. If you suspect a jam, turn the camera off and remove the batteries. Avoid pulling on any film visible in the slot, as this can tear the internal mechanism. If the film is clearly stuck, use a soft, dry cloth to gently clear any debris near the rollers. This varies by model — check the label inside the film compartment to confirm the exact orientation of the film pack. If the light continues to blink after you close the door, the internal sensor may be blocked by a small piece of film scrap.
Internal sensor or electronic faults
When the camera shows a blinking light that doesn’t stop after battery replacement or film checks, an internal electronic fault is likely. This is distinct from power or film issues because the camera remains unresponsive even when you press the power button multiple times. This usually happens if the camera was dropped or exposed to extreme temperatures, which can shift the internal alignment of the lens or the sensor responsible for detecting the shutter state.
The trade-off here is between simple troubleshooting and potential hardware failure. If you have replaced the batteries and verified the film path is clear, yet the light persists, the issue is beyond a quick user fix. A common mistake is forcing the lens to retract by hand, which often breaks the plastic gears inside the lens barrel. If you do this, the cost of repair will likely exceed the price of a new camera. If the camera is still under the manufacturer’s warranty, don’t attempt to open the casing. Instead, contact the official support center for your region. This isn’t for anyone who enjoys taking apart electronics, as the internal springs and ribbons are fragile and difficult to reassemble without specialized tools.
When to stop and get help
Smoke or burning smell: Stop using the camera immediately and remove the batteries to prevent a potential fire hazard. If the smell persists after the battery is removed, keep the device away from flammable materials for at least two hours.
Cracked or broken casing: If the camera body is physically damaged, the internal mechanisms may be misaligned, making it unsafe to operate. A hairline crack near the lens mount is particularly dangerous, as it can cause the lens to detach unexpectedly during use.
Liquid damage: If the camera has been submerged, don’t attempt to turn it on. Water creates bridges between electrical contacts, causing a short circuit that can fry the motherboard instantly. Place the unit in a dry area with silica packets for 48 hours before seeking professional assessment.
Repetitive mechanical grinding: If you hear a loud, harsh clicking or grinding sound from the lens, stop pressing the shutter to avoid stripping the gears. This noise indicates a jammed focus motor. Forcing the shutter button will turn a simple misalignment into a total gear replacement.
Battery leakage: If you see white or blue powder inside the compartment, don’t touch it with your bare hands. This alkaline residue causes chemical burns. Use a cotton swab dipped in isopropyl alcohol to clean the terminals only if the corrosion is minimal.
If you encounter these issues, you must contact a professional repair service. Attempting to repair a damaged circuit board without training will void your warranty and likely cause permanent damage to the device.
Frequently asked questions
Can I use lithium batteries in my camera?
Using the wrong battery type can cause internal electronics to malfunction or trigger a blinking light error. Stick to standard alkaline AA batteries, as they provide the consistent voltage required for the motor and flash to function properly.
How long do the batteries last?
A set of new alkaline batteries typically lasts for about 100 shots, though this varies based on your usage. Using the flash for every photo will drain the batteries much faster than shooting in bright daylight. Cold weather also significantly reduces battery life, so keep your camera in a warm pocket during winter.
Is it safe to keep using the camera if the light blinks?
No, you shouldn’t continue to use the camera while the light is blinking. The blinking indicates that the camera doesn’t have enough power to perform a full cycle, which could cause the film to get stuck inside the rollers. Replacing the batteries first will prevent you from wasting expensive film packs and ensure that your photos develop correctly without streaks or mechanical errors.
What happens if I open the back door while the light is blinking?
If you open the back door while the light is blinking, you’ll likely ruin the film pack inside. Opening the door exposes the film to light, which destroys the remaining images on the roll. If the camera is mid-cycle, opening the door can also damage the internal ejection motor. Always wait until the camera has finished its cycle or perform a hard reset before opening the back compartment.
Does it matter which brand of batteries I use?
Yes, using high-quality alkaline batteries is important for the stability of your camera. Cheap or generic batteries often have a lower current output, which can cause the camera to report a low-battery error even if the batteries are brand new. For the best results, use reputable, name-brand alkaline batteries, as these provide the steady power flow necessary for the flash to charge quickly and for the motor to move the film.
Final Thoughts
If your camera still doesn’t respond after these adjustments, it’s best to reach out to the manufacturer’s support team for further guidance. They’ll help you determine if there’s an internal fault that needs expert attention. Don’t worry, as you’ll likely be back to capturing your favorite moments again very soon.