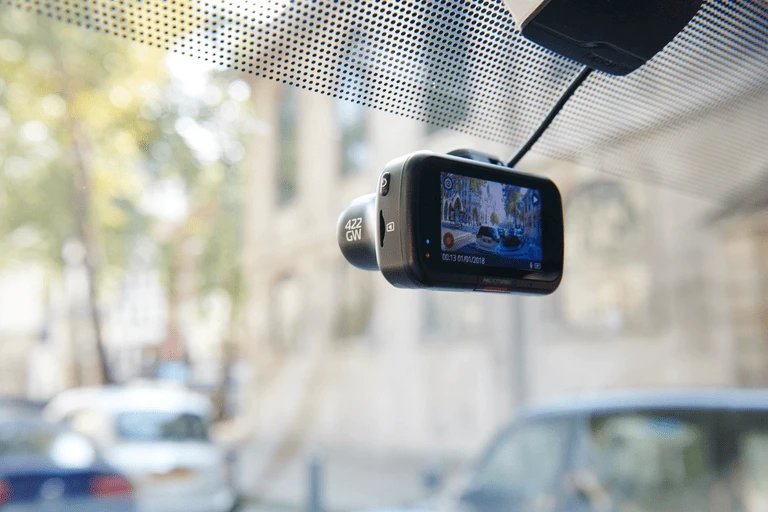
The most common reason for a 522gw not recording is a corrupted or incompatible microSD card that prevents the device from saving new video files. If your dash cam is powered on but the screen shows no active recording icon, the device usually needs a simple storage reset or a format of the memory card to restore normal operation.
Why this happens
The internal software of the dash cam relies on a continuous loop of writing data to the memory card. When the card reaches its storage limit, it’s designed to overwrite the oldest files. If the file structure becomes corrupted, the dash cam can’t initialize the next file segment, which results in the device hanging or stopping the recording process entirely.
Another frequent cause is an incorrect power supply. These units require a stable 5-volt input to function correctly. If you’re using a generic USB cable instead of the provided hardwire kit or the original car adapter, the voltage might drop below the required threshold during startup. The camera may turn on its screen but fail to trigger the recording sensor because it lacks the consistent power needed to write to the memory card.
Finally, the firmware version can cause conflicts if it hasn’t been updated in a long time. Manufacturers release updates to fix bugs that interact with newer, higher-capacity cards. If your device is running an outdated version, it might struggle to communicate with cards larger than 32GB. You can verify the latest software version and download instructions directly from the Nextbase official support portal. Always check your specific model number on the back of the casing, as the software requirements can differ between hardware revisions.
Fixing a 522gw not recording by formatting your SD card
This fix is for users who see the camera power on but notice the red recording dot is missing or flashing rapidly. Formatting the card wipes all data, so back up any important footage to your computer before you start.
To perform this, navigate to the setup menu on the dash cam screen. Locate the “Format SD Card” option. If the option is greyed out, the camera may currently be in recording mode; press the stop button to halt the process first. Select “Format” and confirm the action. This process clears the file allocation table and creates a fresh directory structure that the camera can read easily.
If the camera shows an “SD Card Error” message even after formatting, the card itself might be physically worn out. This is a common issue if you use standard cards instead of “High Endurance” versions. High Endurance cards are built to handle the constant read-write cycles of a dash cam. If you have been using the same card for more than two years, it’s likely at the end of its life cycle and needs to be replaced. If the camera still refuses to record after a fresh format with a new, compatible card, contact the manufacturer’s technical support team to rule out a hardware failure in the lens or the internal processor.
Check the power connection
This fix is for cases where the dash cam flickers or restarts randomly while driving. If the unit loses power for even a fraction of a second, the recording sequence breaks, and the file may not save correctly.
Start by inspecting the connection between the mount and the camera. These models use a magnetic or sliding contact point to pass power from the windshield mount to the device. If these pins are dirty or bent, they won’t maintain a steady current. Use a soft, dry cloth to wipe the metal pins clean. Don’t use liquid cleaners or abrasive brushes, as these can damage the delicate coating on the connectors.
If the power cable is routed through a fuse box, check the fuse to ensure it hasn’t blown. A loose ground wire is another frequent culprit; ensure the ground connection is attached to a clean, unpainted metal surface on the vehicle chassis. If you aren’t comfortable working with car wiring, take the vehicle to a professional auto electrician. They have the tools to verify if the electrical output is stable under load. A multimeter reading can verify if the dash cam is receiving the correct voltage, though it may not detect transient power drops.
Update the device firmware
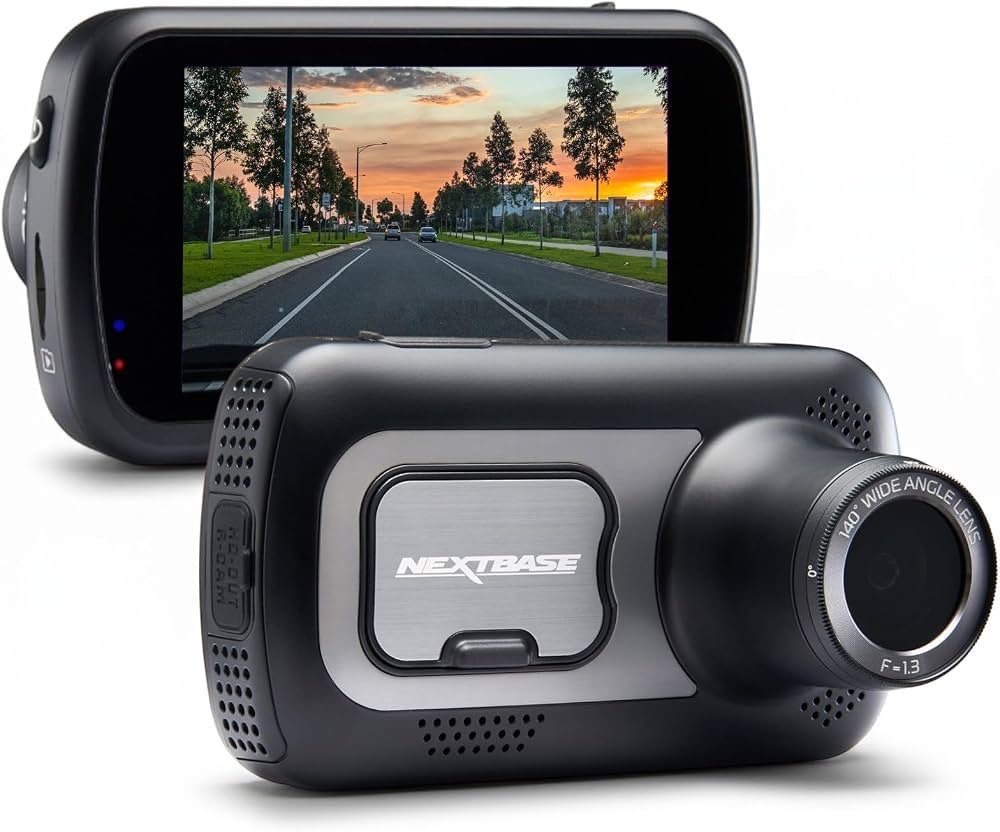
Updating the firmware is the final step for persistent software-related issues. This isn’t for everyone; if your camera works fine under normal conditions, you don’t need to perform this. This process is only for units that consistently freeze or fail to start recording despite using a healthy, formatted SD card.
Visit the official website to download the firmware file for your specific model. You’ll need a computer with an SD card slot or a USB card reader. Copy the firmware file to the root directory of your SD card—don’t place it inside a folder. Insert the card into the dash cam while it’s powered off. When you turn the device on, it should automatically detect the file and begin the update process.
Keep the camera plugged into a stable power source throughout this entire procedure. If the power cuts out while the firmware is writing, the device could become permanently unusable. Once the update finishes, the camera will reboot itself. Navigate back to the settings menu to ensure your preferences, such as the loop recording length and time zone, are still correct. If you find the menu interface is lagging after the update, perform a factory reset to clear out any old configuration data that might be clashing with the new firmware.
What not to do
Don’t use the “Quick Format” option on a computer; always use the format function inside the camera menu to ensure the file system is compatible. Formatting on a PC often defaults to exFAT or NTFS, which many dash cams can’t read, leading to “Card Error” messages mid-drive.
Don’t pull the SD card out while the red recording light is on. This is the most common way to corrupt the file structure. If you must remove the card, power down the unit completely first.
Don’t use standard consumer-grade SD cards intended for phones. These lack the heat resistance required for constant car usage and will fail within weeks. Look for “High Endurance” labels, which are designed to handle the thousands of write cycles a dash cam demands.
Don’t attempt to open the casing to fix internal components. This voids your warranty and risks a short circuit. If the device fails, contact the manufacturer instead.
How to stop it happening again
Consistent maintenance is the only way to ensure your footage is there when you need it. Check your device settings periodically to ensure the time/date stamps remain accurate.
| If you’re doing this | Do this instead | Why |
|---|---|---|
| Leaving the card for months | Clears errors and prevents buildup | |
| Using generic USB power | Use the provided hardwire kit | Ensures stable voltage delivery |
| Leaving the unit in direct sun | Use a sunshade or park in shade | Prevents thermal shutdown of the chip |
| Ignoring the error beeps | Check the status screen | Catches small issues before they fail |
Most users mistake a silent device for a working one. If your camera stops chirping during startup, the internal battery may have died, causing the clock to reset. This renders footage useless in court because the timestamps no longer match reality.
If your camera uses a microSD card, replace the card entirely regularly. Flash memory wears out after a set number of write cycles. Relying on an old card is a gamble that usually fails during a critical incident. If you see “Card Error” flash on the display, stop driving immediately. Formatting won’t fix a physically degraded sector, and continuing to record will only corrupt the remaining files.
Frequently asked questions
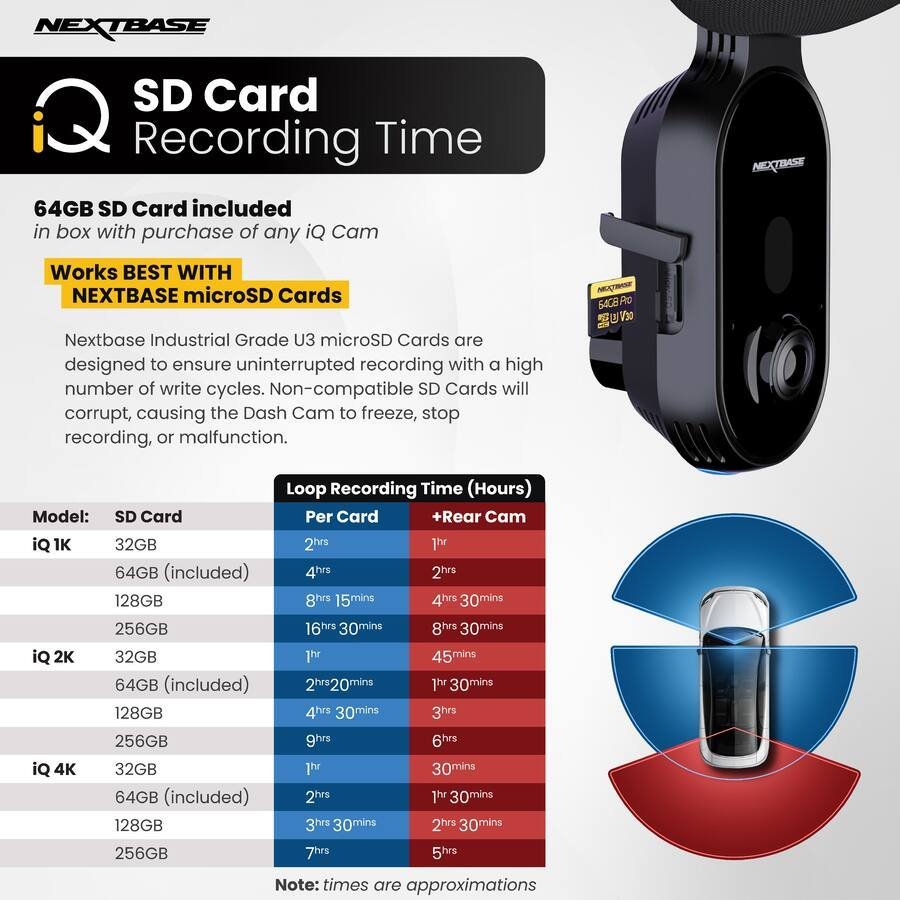
Can I use any SD card in my dash cam?
No, you must use a High Endurance microSD card that’s rated for continuous recording. Standard cards are designed for taking occasional photos and will fail quickly when asked to record video for hours. Check the manufacturer’s user manual for the maximum capacity the device supports, as using a card that’s too large can lead to recording failures or slow menu performance.
Why is my dash cam recording in short clips?
Your dash cam is working correctly because it uses “loop recording” to manage space on the card. It saves video in small, manageable segments so that if a file becomes corrupted, you only lose a few minutes of footage rather than the entire drive. You can usually adjust the length of these segments in the settings menu to one, three, or five minutes, depending on your preference.
How long should an SD card last?
An SD card in a dash cam typically lasts for a certain duration depending on the quality of the card and how often you drive. Constant overwriting wears out the memory cells inside the card as it ages. If you notice that you have to format the card more frequently than usual, it’s a clear sign that the card is reaching its lifespan limit and should be replaced.
Is it safe to leave the dash cam plugged in?
Yes, it’s safe to leave the device plugged in if it’s connected to a switched power source that turns off when the car engine stops. If you have the camera hardwired to a constant power source, it will continue to pull a small amount of electricity, which could drain your car battery if the vehicle sits idle for several days or weeks at a time.
What happens if I stop the recording manually?
If you manually stop the recording, the dash cam will stay in standby mode and won’t save any footage until you press the record button again. Many users accidentally stop the recording when trying to navigate the menu or lock a file. Always check the screen before you start driving to ensure the red light or recording icon is active and visible.
Final Thoughts
If these quick fixes don’t get your camera back on track, you shouldn’t hesitate to reach out to the manufacturer’s support team. They’ve got the technical tools to check for deeper hardware faults. Don’t let a faulty device leave you unprotected; it’s worth getting it sorted so you’re ready for the road ahead.
Related guides