When you see the 8bitdo pro 2 red light blinking, it means your controller battery is low and needs to be charged immediately. This signal is the built-in way for the device to tell you that the power level has dropped below the threshold required for stable wireless operation. If the light blinks while you’re playing, you have only a few minutes before the connection drops and the controller shuts down completely.
Causes of the blinking light
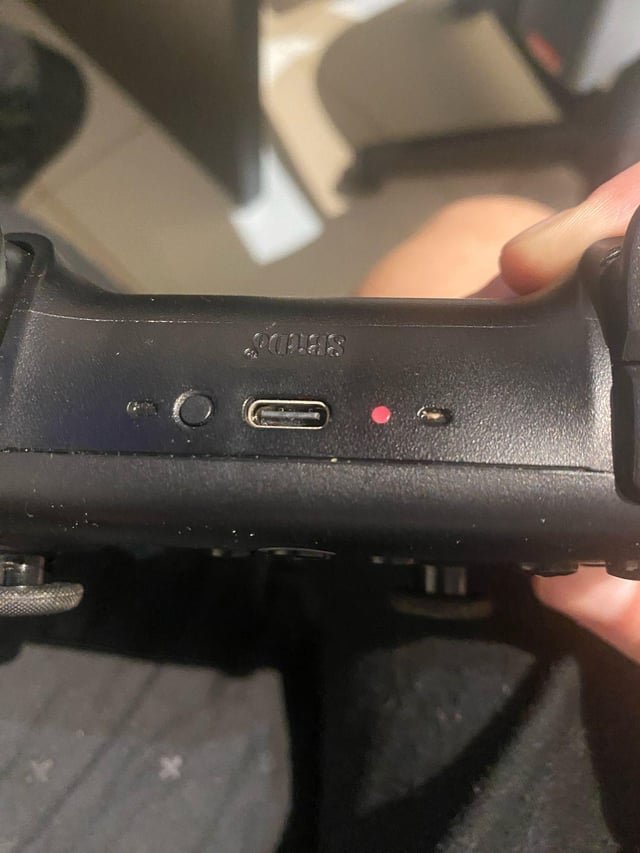
The blinking red light is a battery status indicator. When the lithium-ion battery inside the controller hits a low voltage state, the internal firmware triggers the LED to flash. This happens because the controller can’t maintain a reliable Bluetooth signal or handle the vibration motors when the voltage is too low.
One common cause is simply natural battery drain. If you have been playing for several hours, the battery will eventually reach this point. However, if you notice the light blinking shortly after a full charge, it may indicate that the battery is no longer holding its full capacity. Lithium-ion batteries naturally lose their ability to hold a charge over many cycles, a process that’s normal for all rechargeable electronics.
Another reason for this behavior involves the connection state. If the controller is trying to pair with a console or PC but the battery is low, it will prioritize the warning light over the pairing light. You can verify your controller’s current status and official support documentation by visiting the 8BitDo support center. If the light persists even when plugged into a power source, the issue might be a faulty USB cable or a dirty charging port, which prevents the controller from receiving the energy it needs to reset its status.
Connect to a power source
This fix is for users who have a controller that shuts down shortly after the light begins to blink. You need a standard USB-C cable and a reliable power source, such as a wall adapter or a powered USB port on your computer.
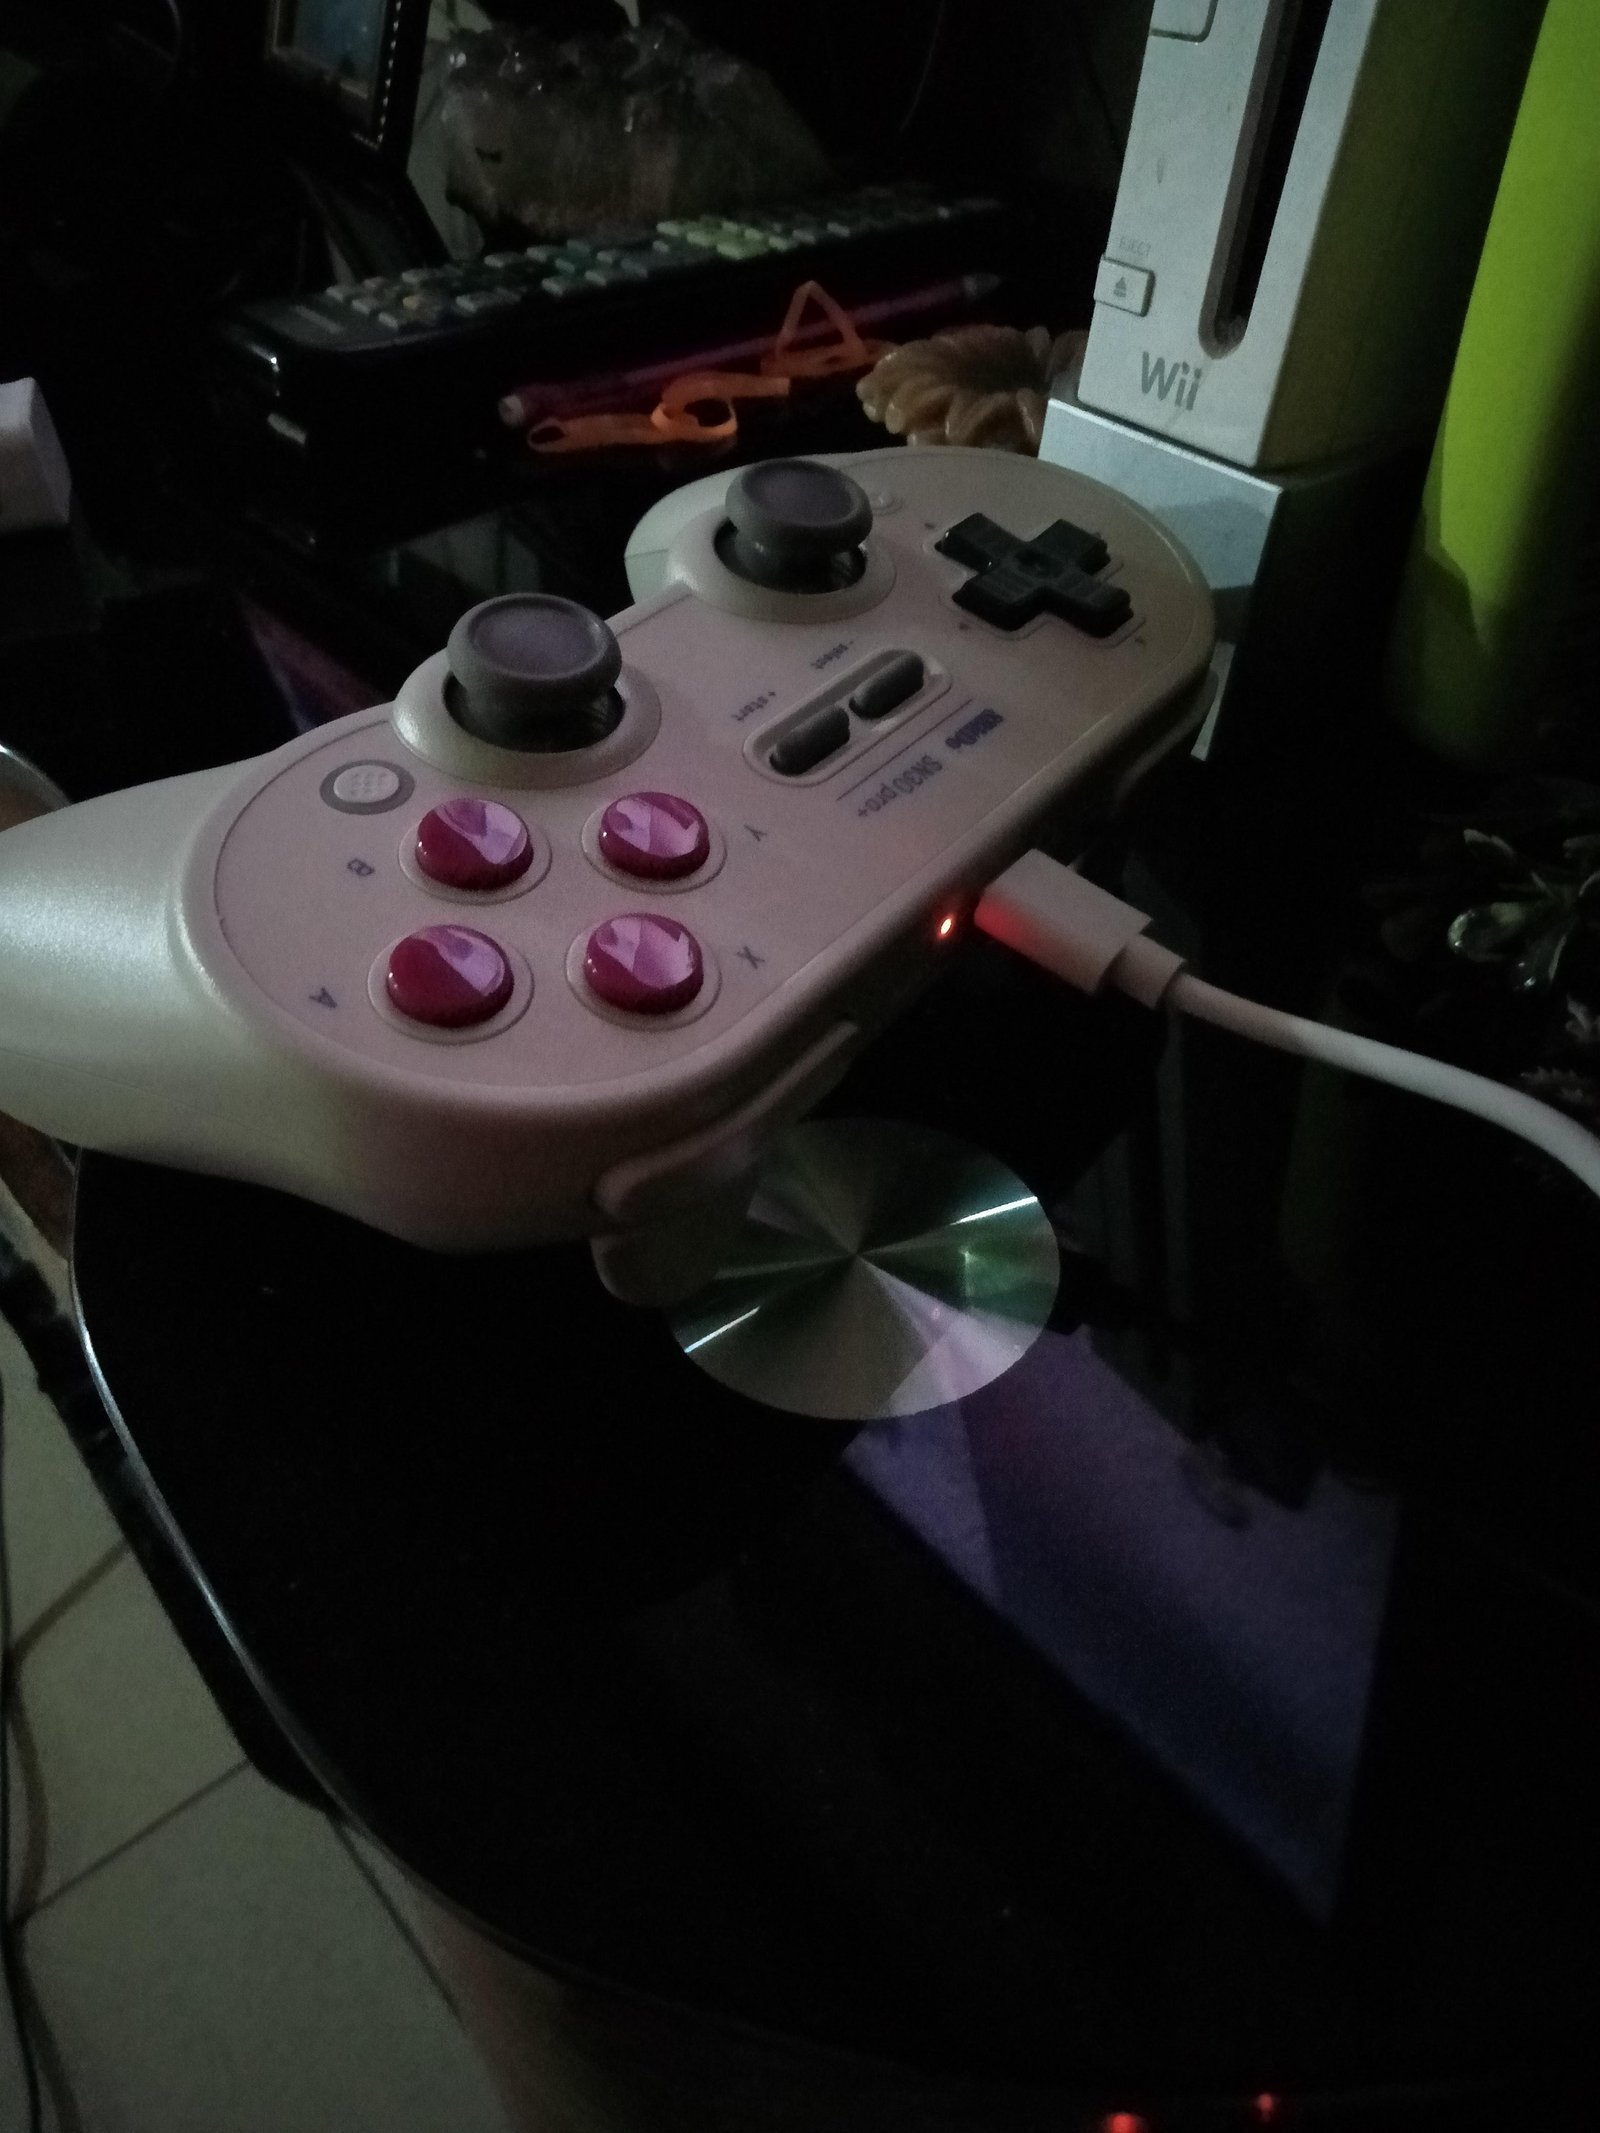
Plug the USB-C cable into the top port of your controller. Connect the other end to a device that provides at least 5V and 500mA of power. Once plugged in, the red light should stop blinking and turn solid, or change to a different color to indicate it’s charging.
If you’re using a computer port, keep the computer awake. If the computer goes into sleep mode, many USB ports cut off power, which stops the charging process. If the controller doesn’t show a charging light after 30 minutes, try a different cable. A common mistake is using a “charge-only” cable that’s damaged internally; using a high-quality data-transfer cable often solves the problem. This fix works for most users, but if the controller remains unresponsive or the light continues to blink while plugged in, the internal battery may be at the end of its life.
Reset the controller
This fix is for when the controller is fully charged but the red light continues to blink erratically. Sometimes the internal software that monitors battery voltage gets stuck in a loop, causing the controller to report a low-battery state even when it’s full.
To perform a hard reset, locate the small hole on the back of the controller. You’ll need a paperclip or a similar thin tool. Gently press and hold the button inside this hole for about three seconds. This action clears the temporary memory of the controller and forces it to re-scan its internal components, including the battery sensor. After the reset, turn the controller back on by pressing the Start button.
If the light stops blinking, the software glitch is resolved. If the light starts blinking again immediately, the issue is likely a hardware fault rather than a software error. This reset process is safe and won’t delete your saved profiles or button mappings on the device itself. Note that this isn’t a solution for a dead battery; if the battery is truly drained, no amount of resetting will fix the blinking light. If you have tried this and the light still blinks, you should consider contacting the manufacturer for a potential warranty claim if the device is still within the coverage period.
Update the firmware
This fix is for users who experience blinking lights after a recent operating system update on their console or PC. Sometimes, a mismatch between the controller’s firmware and the host device’s Bluetooth stack causes communication errors that the controller interprets as a power fault.
To update your firmware, go to the official 8BitDo website on your computer and download the firmware updater software. Connect your controller to the computer using a USB cable. Run the software and follow the on-screen prompts to flash the latest version onto your controller. This is worth the effort if your controller is behaving strangely in games or failing to stay connected, as updates often include fixes for power management.
However, this isn’t necessary if your controller is working perfectly otherwise. If you aren’t comfortable using computer software, skip this step. Be aware that you must keep the USB cable connected throughout the entire update process. If the cable disconnects while the firmware is being written, you could render the controller unusable. If you’re uncertain about the process, check the specific instructions provided on the manufacturer’s website. This fix is only for users with access to a Windows or macOS computer, as the update tool doesn’t run on game consoles.
What not to do
- Don’t attempt to open the controller casing to replace the battery yourself unless you’re experienced with electronics, as this will void your warranty and risks damaging the delicate ribbon cables inside.
- Don’t ignore the blinking light for long periods, as running a lithium-ion battery to zero voltage can sometimes make it impossible for the controller to accept a charge again.
- Don’t use damaged or frayed USB cables to charge your device, as inconsistent power delivery can cause the charging controller to trigger errors or fail to register a full charge.
How to stop it happening again
Consistency is the best way to keep your controller working well. If you charge your device before it hits the critical low-battery stage, the battery stays healthy for much longer.
Most users make the mistake of leaving their controller plugged in overnight. This habit causes “trickle charging,” which keeps the battery at 100% capacity and accelerates chemical degradation. If your controller feels warm to the touch after a full charge, unplug it immediately.
This keeps the lithium-ion cells within the optimal 20% to 80% range.
Frequently asked questions
Can I play while the controller is charging?
Yes, you can play while the controller charges if it’s connected to a stable power source. The controller functions normally while drawing power from the cable. Note that charging while playing may cause the battery to reach a full charge more slowly than if the controller were turned off.
Why is my 8bitdo pro 2 red light blinking while plugged in?
This usually happens because your charging cable isn’t providing enough power to both run the controller and charge the battery. Try connecting the cable directly to a dedicated console port or a wall charger. If the light remains red, the cable might be faulty and require a replacement.
How long does it take to fully charge?
A full charge typically takes between one and two hours depending on the power output of your source. This estimate assumes you’re using a standard 5V USB port. If the light is still blinking after two hours, the battery or the cable may be damaged.
Is it safe to leave it plugged in overnight?
Yes, it’s safe to leave the controller plugged in because internal circuits prevent overcharging. Once the battery reaches capacity, the circuit automatically stops the power intake. If you notice the controller getting unusually hot while plugged in, unplug it immediately to check for a faulty port or cable.
What happens if I ignore the blinking light?
If you ignore the warning light, the controller will eventually shut down to protect the battery from a deep discharge. You’ll be unable to turn it back on until it has been connected to a power source for several minutes. Repeatedly draining the battery can reduce its overall lifespan.
Final Thoughts
Once your controller is fully charged, you’ll be ready to jump back into your favorite games without any interruptions. It’s a good idea to keep your charging cable nearby, as you won’t want to be caught off guard during a tough boss fight. You’ll definitely appreciate the peace of mind.
Related guides