You can usually fix an electric bike display not working by checking the battery connection, the cable plugs, and the power button sequence. Most issues start with a loose wire or a battery that isn’t seated correctly in its mount. If the screen remains blank after these basic checks, the problem likely involves a deeper electrical fault that requires a professional inspection.
Troubleshooting: Electric bike display not working
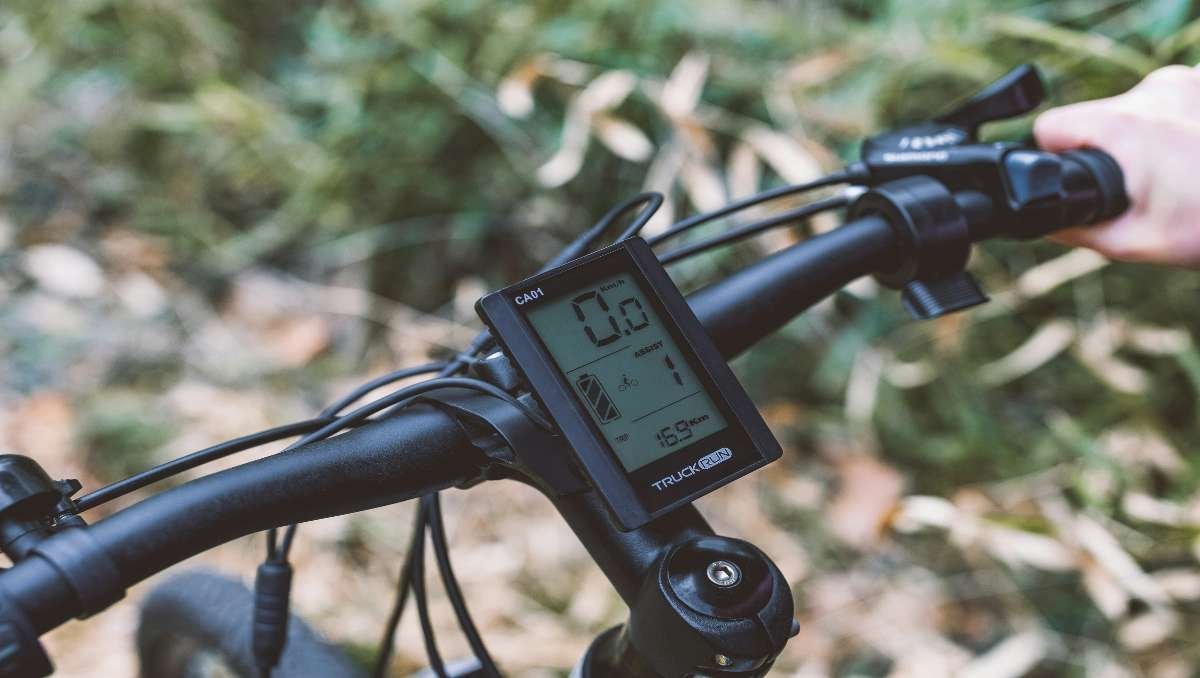
Most display failures occur because the electrical path between the battery and the controller is broken. This happens when vibrations from riding cause connector pins to shift or cables to pull loose from the frame. If you have recently hit a large bump or performed maintenance, a plug may have simply vibrated out of its socket.
Another common cause is moisture or debris inside the display unit or the handlebar connectors. Rain, humidity, or even bike cleaning products can cause corrosion on the delicate metal pins that send power and data to your screen. This interference prevents the system from powering on when you press the power button.
Finally, the battery itself might be in a sleep mode or a depleted state. Many modern e-bike systems have a battery management system (BMS) that cuts power if it detects a voltage drop or a short circuit to protect the cells. If the battery is damaged, it won’t signal the display to turn on, regardless of how many times you press the button.
Check the battery connection
If your bike isn’t turning on, start by ensuring the battery is locked firmly into its cradle. A battery that’s only partially connected won’t provide the steady flow of electricity needed to power the display. Take the battery out, look for any dirt or debris on the contact points, and wipe them clean with a dry, lint-free cloth. Once clean, slide the battery back in until you hear a distinct click or feel it lock into place.
This fix is for riders who have a removable battery. If your battery is integrated into the frame, look for a charging port or a status light on the side of the frame to confirm it’s receiving power. If the battery has a physical power switch, ensure it’s in the “On” position. After re-seating the battery, wait about ten seconds before pressing the display power button.
If you see a momentary flash on the screen but it dies immediately, the battery may be low on charge. If you have a second battery or a friend with the same model, try swapping them to see if the display wakes up. If the screen stays black even with a fully charged, known-working battery, the fault is likely in the wiring or the display unit itself. This varies by model — check the label on your display for the specific voltage requirements.
Inspect the wiring harness
The cables running from your handlebars to the frame are the next point of failure. Follow the cable coming out of the back of your display and look for any kinks, cuts, or sharp bends. If you find a connector along the handlebar, unplug it carefully and inspect the pins inside. Look for bent or pushed-in pins that might prevent a solid connection.
If the pins look straight and clean, push the connector back together firmly. You should feel a positive snap when the connection is fully seated. If the cable is loose or wobbling, use a small zip tie to secure it to the handlebar, ensuring there’s enough slack so the wire doesn’t pull when you turn the bars.
This isn’t for you if you can’t see the pins clearly or if the cable feels brittle. If you see signs of burning or melting on the plastic connectors, don’t attempt to reconnect them, as this suggests a short circuit. If you’re unsure about the condition of the internal wiring, take the bike to a certified technician. Attempting to force a connection that’s damaged can permanently destroy the delicate electronic pins or the controller board, which is a mistake that often costs the price of a full display replacement.
Reset the system software
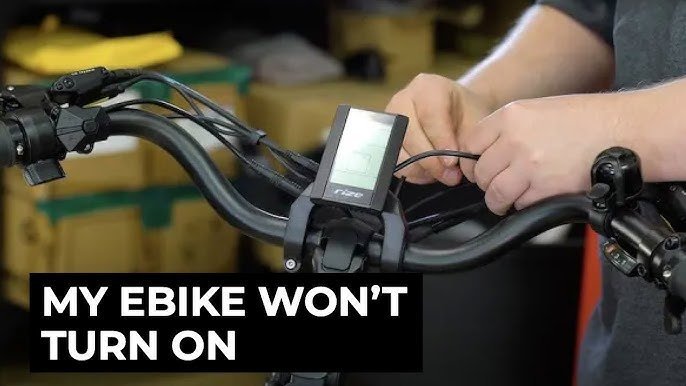
Sometimes the display unit enters a “frozen” state where it remains powered but fails to show information. You can often force a reset by performing a power cycle. Turn off the battery using its main switch, then hold the power button on the display for at least thirty seconds to attempt a system reset.
After holding the button, keep the battery off for two full minutes. Once the time has passed, turn the battery back on and press the display power button as you normally would. This process clears temporary glitches in the display’s memory.
If this doesn’t work, check if your bike manufacturer provides a mobile app. Some displays can be updated or reset through a Bluetooth connection with your phone. This is only worth the time if your bike is a “smart” model with app connectivity. If your bike is a basic model, there are no software resets you can perform. If the screen remains blank after these steps, it’s time to contact the manufacturer or a local bike shop. Don’t attempt to open the display housing, as it’s sealed to keep out water; opening it will void your warranty and may expose you to internal components that aren’t user-serviceable.
What not to do
- Don’t spray water or cleaning solvents directly onto the display or cable connectors, as liquid ingress is the leading cause of permanent electrical shorts.
- Don’t try to pry open the display casing with a screwdriver, as the internal circuit boards are fragile and usually glued shut by the factory.
- Don’t leave the bike plugged into a charger for days at a time if the display isn’t working, as this can overheat a faulty battery.
How to stop it happening again
Preventing display issues is mostly about keeping the electrical connections dry and secure.
| If you’re doing this | Do this instead | Why |
|---|---|---|
| Storing the bike outside | Keep it in a dry garage | Moisture causes pin corrosion |
| Pulling on cables | Use zip ties to support | Prevents wire fatigue and snaps |
| Leaving battery in cold | Store battery indoors | Extreme cold slows chemical reaction |
| Cleaning with a hose | Use a damp cloth only | Prevents water entering the seal |
If your display flickers after a rain ride, don’t turn it on again until you have used compressed air to clear the port.
If the screen remains dark despite a dry connection, check the cable housing for microscopic cracks. A single hairline fracture allows moisture to wick into the core, which may cause internal corrosion or electrical faults. If the cable feels stiff or brittle, replace it immediately to save the display unit from permanent failure.
Frequently asked questions
Can I replace the display myself?
You can replace the display yourself if you have the correct part number and the bike is out of warranty. Ensure the new unit matches your bike’s specific controller version. Don’t attempt this if the bike is under warranty, as it will void your coverage.
Why is my e-bike display flickering?
A flickering display usually indicates a loose connection or a fluctuating power supply from the battery. Check the main battery cradle for any movement or loose screws, as vibrations often cause contact points to lose connection.
How long should an e-bike display last?
An e-bike display typically lasts for the life of the bike, provided it’s protected from water and physical impact. Displays on bikes used daily in wet climates may show signs of wear after several years. Keep the unit covered when parked to extend its life.
Is it safe to ride if the display is off?
It isn’t safe to ride if the display is off, as you can’t monitor your speed, battery level, or error codes. You also lose the ability to manage pedal-assist features, which can be dangerous in traffic. Always resolve the display issue before riding.
What happens if I ignore a blank display?
Ignoring a blank display can lead to total system failure if the root cause is a short circuit or water leak. If the display is blank due to a loose wire, the bike might suddenly lose power while riding. Address the issue immediately to prevent further damage.
Final Thoughts
If the screen still won’t light up, don’t worry. It’s best to reach out to your local bike shop or the manufacturer’s support team for help. They’ll have the right tools to test your wiring, and you’ll be back to enjoying your rides before you know it.
Related guides