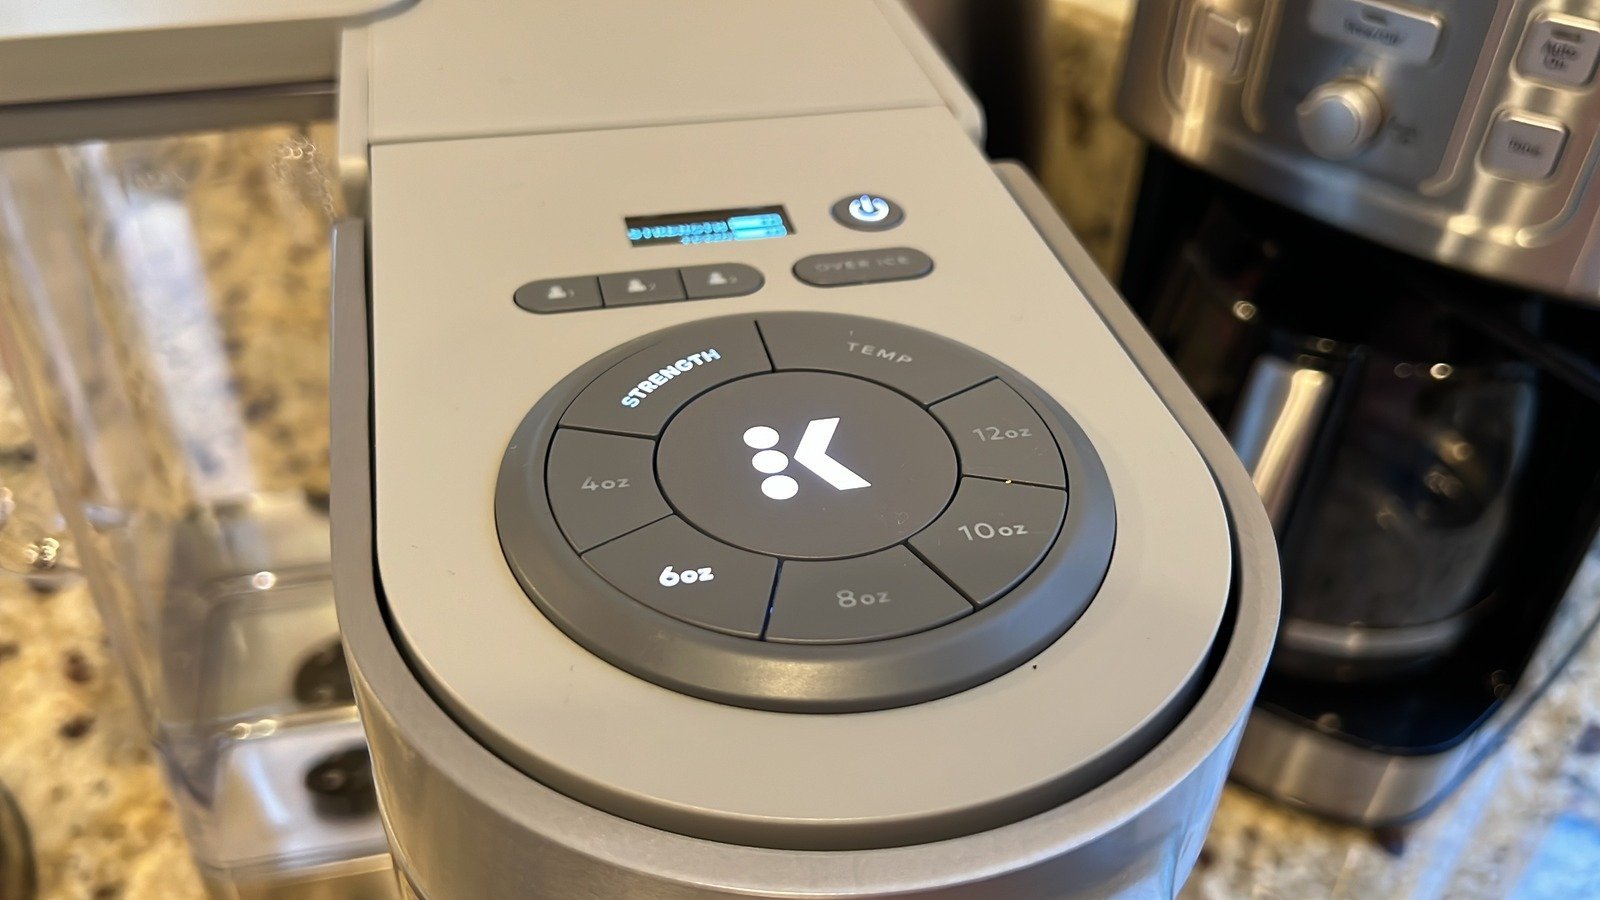
The most common reason for a keurig add water light not working is a stuck or dirty float magnet inside the water reservoir. When the sensor can’t detect the floating magnet, the machine thinks the tank is empty even when it’s full. This happens because mineral deposits from hard water build up around the magnet, preventing it from moving freely. If the light stays on after you clean the reservoir, the internal sensor might be faulty, or the tank isn’t seated perfectly on the base.
Why your Keurig add water light not working
The “Add Water” light relies on a simple magnetic switch. Inside your water reservoir, there’s a small float containing a magnet. When the water level drops, the float sinks, and the magnet moves away from the sensor in the base of the machine. This signals the electronics to turn on the warning light.
Several factors cause this mechanism to fail:
- Mineral Buildup: If you live in an area with hard water, calcium and magnesium deposits can create a crust around the float. This keeps the float stuck in the “low” position, so the sensor always thinks the tank is empty.
- Misalignment: Sometimes the reservoir isn’t pushed all the way down into the base. If the tank sits even a few millimeters too high, the magnet isn’t close enough to the sensor to trigger it.
- Sensor Obstruction: Debris or biofilm can build up on the base of the machine where the tank connects. Even a tiny piece of plastic or a thick layer of grime can block the signal between the magnet and the sensor.
If you have tried cleaning the reservoir and the light remains lit, the internal reed switch inside the brewer may have failed. This is a permanent mechanical component that can’t be repaired by the user. If your machine is still within the warranty period, you should contact the Keurig Customer Service department to discuss your options for a replacement or repair.
Clean the reservoir components
If the float is stuck, you must clear the debris. Remove the water reservoir from the brewer and empty it completely. Look for the small plastic float, which is usually located inside a vertical compartment on the side or back of the tank. Shake the tank gently; if you don’t hear the float moving or see it sliding up and down, it’s stuck.
Use a mild dish soap and a soft-bristle brush to scrub the area around the float. Don’t use harsh chemicals or abrasive pads, as these can scratch the plastic and make it easier for future buildup to stick. If the buildup is stubborn, soak the reservoir in a mixture of white vinegar and water for thirty minutes. This helps dissolve the minerals. After soaking, rinse the tank thoroughly with fresh water to ensure no vinegar residue remains. Once clean, fill the tank and seat it firmly back onto the base of the brewer. If the light turns off, you have successfully cleared the obstruction.
Realign the water tank
Sometimes the issue is physical alignment rather than dirt. Even if the tank looks like it’s in place, it might not be making a solid connection with the base. Remove the reservoir and inspect the area where it meets the brewer. Ensure there’s no debris, stray coffee grounds, or dried water spots on the contact point.
Wipe the base area with a damp, lint-free cloth. When you replace the tank, press down firmly to ensure it’s seated flush against the machine. If your model has a locking mechanism or a specific sliding track, ensure the tank is fully locked into position. If you hear a click, that’s usually a sign the connection is secure. If you have been using a filter cartridge, remove it temporarily and try running the machine with the tank alone. A poorly installed filter can sometimes prevent the tank from sitting deep enough to trigger the sensor. If the light stays off after you reseat the tank, the issue was simply a bad connection.
Perform a hard reset
If the light is still on, the machine’s internal computer might be stuck in an error loop. A hard reset can often clear electronic glitches without requiring any tools. Unplug the brewer from the wall outlet for a few minutes to allow the system to reset. This allows the control board to power down and reset its internal state.
While the machine is unplugged, check the power cord for any visible damage. Once the hour has passed, plug the machine back into a dedicated wall outlet. Avoid using power strips or extension cords, as these can sometimes cause voltage fluctuations that confuse the sensor. Turn the machine on and wait for it to heat up. If the “Add Water” light remains on, the failure is likely a hardware issue with the sensor board. This is a common trade-off with modern appliances: the convenience of automated sensors means that when those sensors fail, the machine often stops working entirely. If you aren’t comfortable with internal repair, don’t attempt to open the housing, as this voids your warranty and can cause electrical hazards.
What not to do
Don’t use a magnet on the outside of the tank. This is a common mistake that can permanently damage the sensitive internal reed switch by pulling it out of alignment. Once the switch is displaced, the machine will fail to detect water levels, rendering the unit unusable until a professional repair is performed.
Don’t force the tank into place. If it doesn’t slide down easily, there’s an obstruction; pushing harder will only crack the plastic housing. If you feel resistance, stop immediately and inspect the rear guide rails for mineral buildup or debris.
Don’t use bleach or harsh cleaners. These chemicals can leave toxic residue that will end up in your coffee and may degrade the plastic parts of your machine. Stick to a mixture of equal parts white vinegar and water for descaling.
Don’t bypass the sensor with wire or tape. This is dangerous because the machine will continue to heat the water even if the tank is empty, which can burn out the heating element. Replacing a fried element often costs more than the machine itself.
Don’t submerge the entire machine in water. The base contains electrical components that will be ruined by water, leading to a total loss of the unit and a possible shock risk. Always wipe the exterior with a damp, wrung-out cloth instead.
How to stop it happening again
Regular maintenance prevents the buildup of minerals that cause the sensor to fail. If you keep the tank clean, the float remains free to move.
| :— | :— | :— | | Using a power strip | Plug directly into the wall | Ensures steady voltage for sensors |
Most users mistake a flickering sensor light for a temporary glitch. If the light persists after a reset, you must soak the sensor in a solution of one part white vinegar to three parts water for thirty minutes. This dissolves the calcification that a simple wipe misses.
If you live in an area with high water hardness, you should perform this deep clean regularly. Failure to do so will permanently fuse the float mechanism, rendering the unit irreparable. When in doubt, check the float’s movement manually to see if mineral buildup has begun.
Frequently asked questions
Can I bypass the add water light?
No, you can’t bypass this light because it’s a safety feature designed to prevent the heating element from running dry. If you trick the sensor, the machine could overheat, leading to a burnt-out pump or fire hazard. Always address the underlying cause rather than disabling the warning system.
How long should I leave the machine unplugged?
You should leave the machine unplugged for a few minutes to ensure the system resets. This allows the logic board to power cycle and reset. If the light stays on after this, the problem is likely a physical failure of the sensor.
Is it safe to use the machine with the light on?
No, it isn’t safe to use the machine if the light is on, even if there’s water in the tank. When active, the brewer’s software disables the pump and heating element to prevent damage. You should resolve the sensor issue before attempting to brew any more coffee.
Why does the light stay on after I add water?
The light stays on because the magnet inside the float is either stuck or blocked by mineral deposits. The sensor in the base isn’t receiving the signal that the tank is full, so it defaults to the warning. A simple cleaning of the float usually fixes this.
What happens if I ignore the add water light?
If you ignore the light, the machine will eventually stop responding to the brew button entirely. Most models are programmed to lock out the brewing function when the sensor detects a low water level to prevent the heating element from burning out. By ignoring the warning, you risk turning a simple cleaning task into a permanent hardware failure that requires a professional repair or a complete replacement of the unit.
Final Thoughts
If your machine still won’t brew after you’ve tried these fixes, it’s likely time to reach out to Keurig’s customer support team. They’ll help you determine if your unit is still under warranty or if it’s time for a replacement. Don’t worry, you’ll be back to enjoying your morning coffee soon.
Related guides