A keurig mini light blinking usually means the machine needs more water or the internal needle is blocked. When you see the indicator light flash, it’s telling you that the brewer can’t pull enough water to complete the heating or brewing cycle. This often happens because the water reservoir is empty, or the sensor inside isn’t detecting the water level correctly. If the reservoir has enough water, you must check for clogs in the needle or the tubing.
Why is my Keurig mini light blinking?
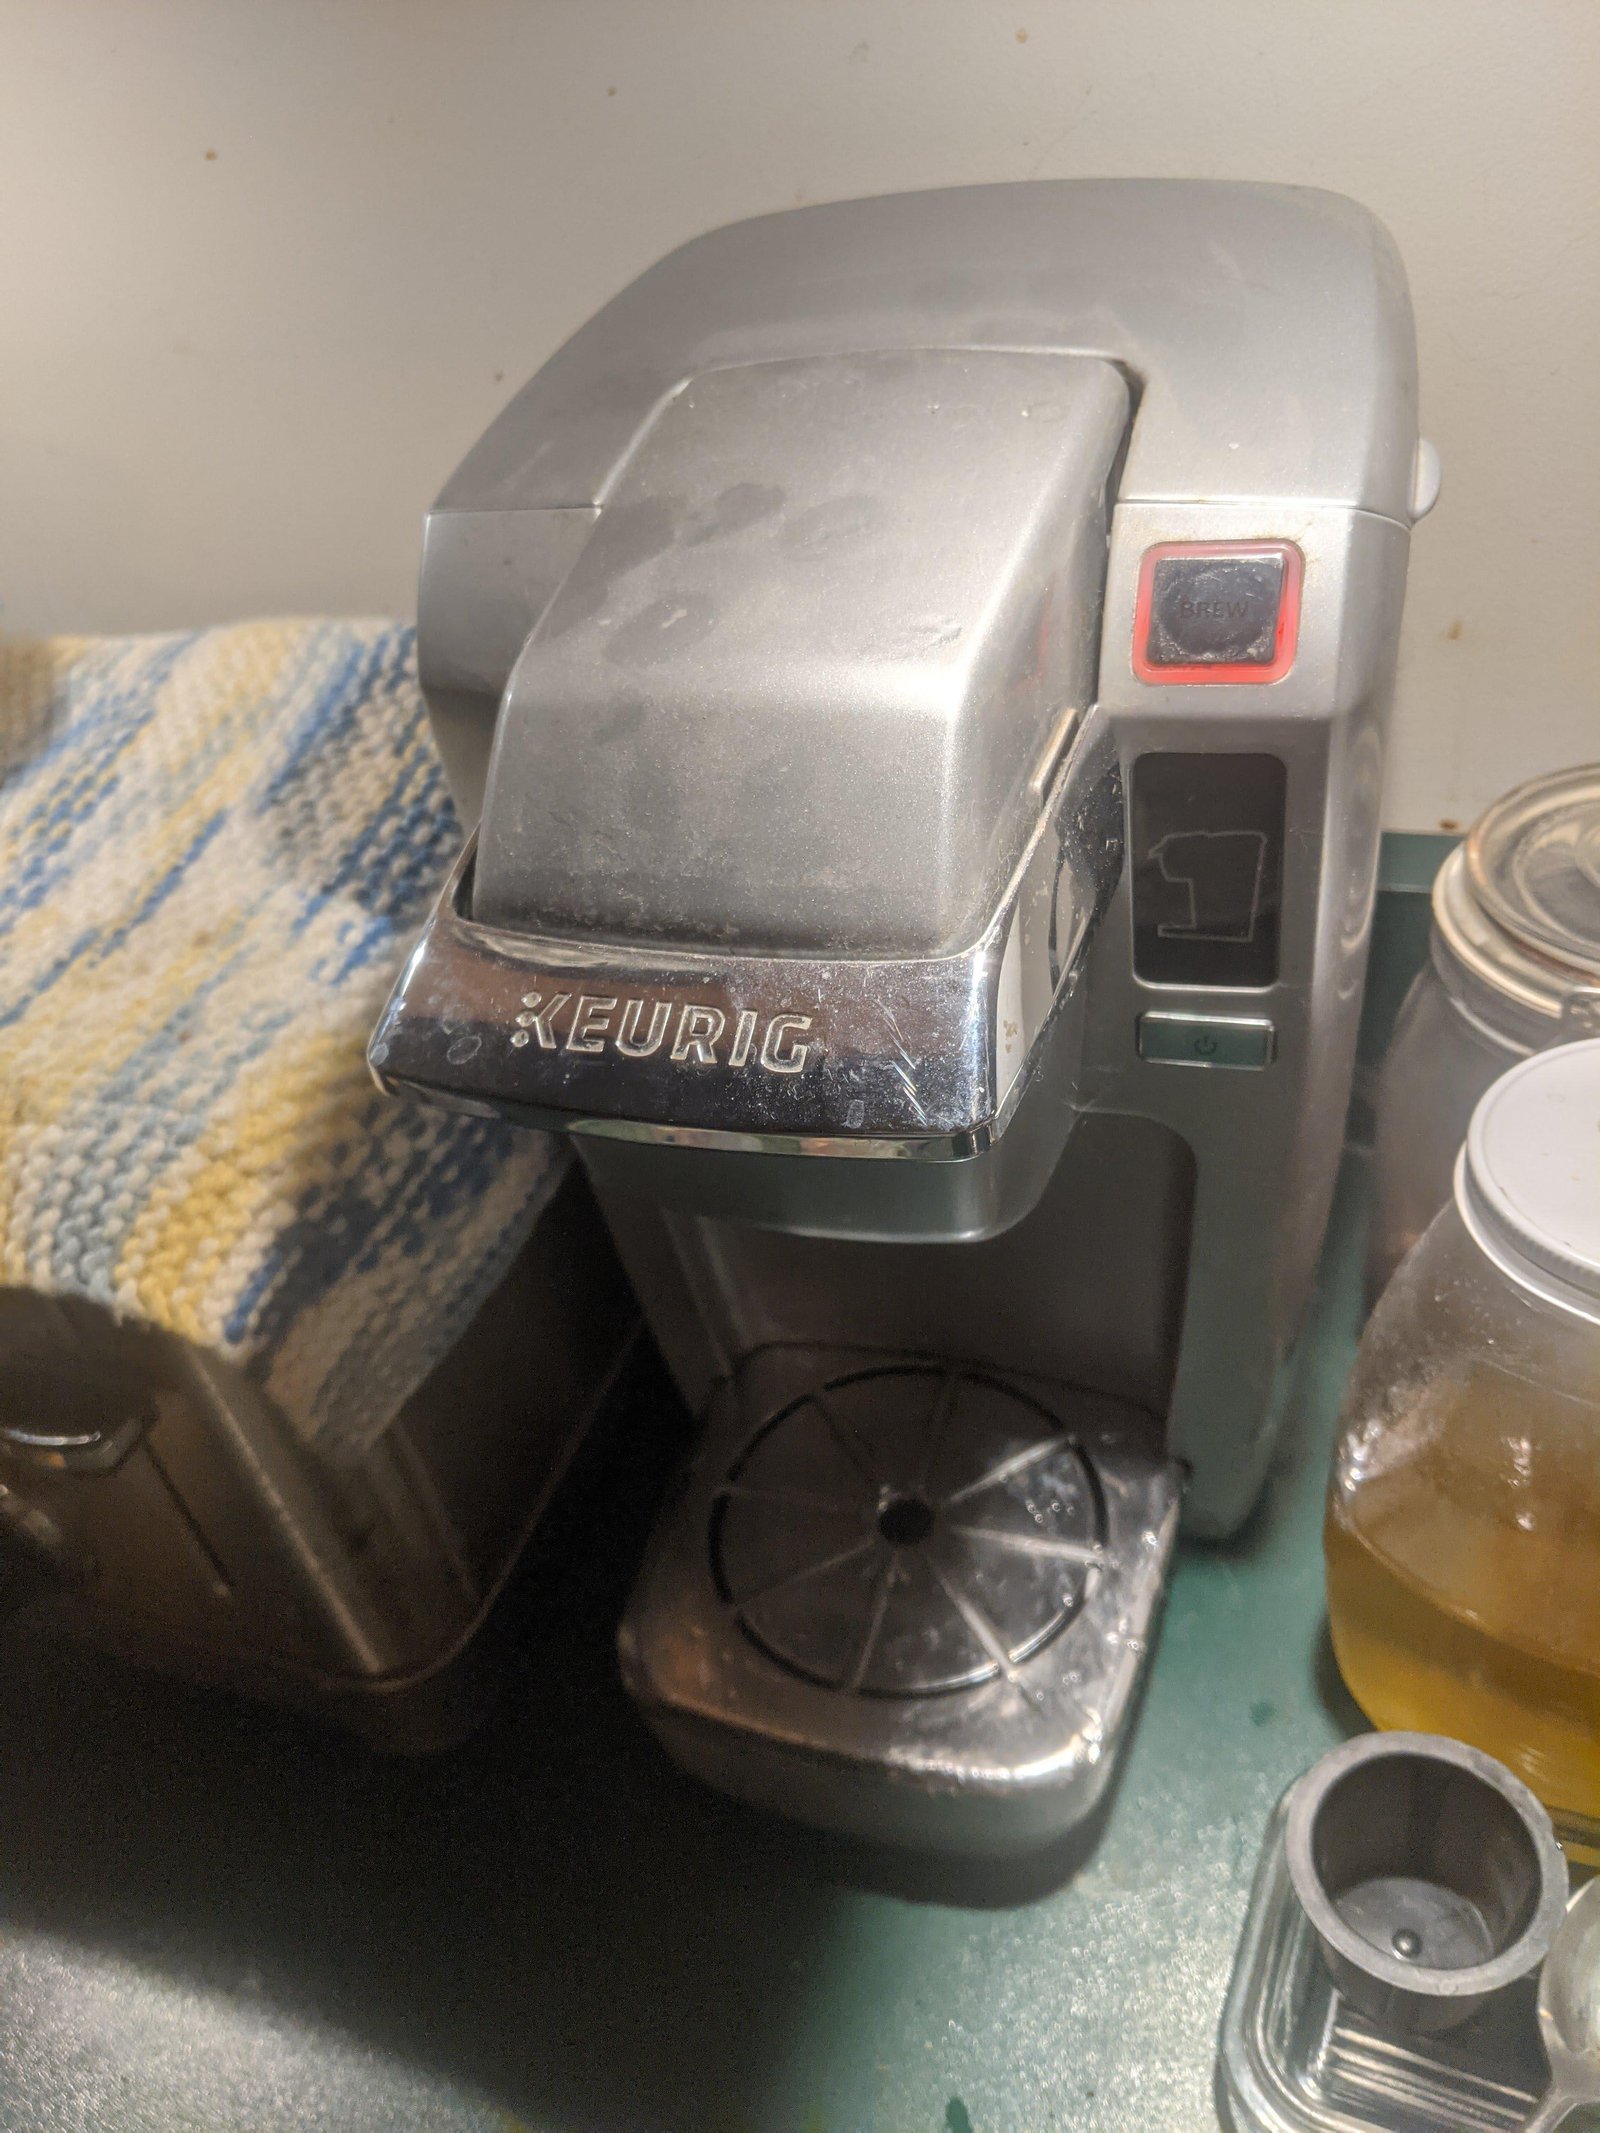
The primary reason for a blinking light is a low water level. The Keurig Mini uses a sensor to detect how much water is in the reservoir. If the water level drops below the minimum line, the pump won’t start, and the light flashes to alert you.
Another common cause is a blockage in the exit needle. Over time, coffee grounds or scale buildup from minerals in your water can clog the small holes where the coffee flows out. When this happens, the pump struggles to push water through the K-Cup, causing the machine to stop the cycle and blink. If you see grounds inside the needle, use a paperclip to clear the obstruction.
A misaligned or improperly seated water reservoir can also cause this error. The reservoir must sit perfectly on the base to engage the valve. If it’s tilted or not pushed in all the way, the water can’t flow into the internal heating chamber. This triggers the same safety shut-off that happens when the tank is dry.
To distinguish between these, check the reservoir seating first. If the tank is full and seated correctly, the issue is almost certainly a clog. A common mistake is using descaling solution too infrequently, which allows mineral deposits to harden inside the internal tubing. This costs you time, as a fully blocked machine often requires a manual flush with white vinegar to dissolve the buildup. If the light persists after clearing the needle and refilling the tank, the internal float sensor may be stuck.
Clear the exit needle
This fix is for users who have a full water reservoir but still see the blinking light. You need a clean, thin paperclip to clear the debris that prevents water flow.
- Turn off and unplug the brewer.
- Open the K-Cup holder lid.
- Locate the needle underneath the top part of the holder.
- Carefully insert the paperclip into the needle holes to break up any coffee grounds or scale.
- Rinse the area with water and wipe it clean.
- Plug the machine back in and try a brew cycle without a K-Cup to see if the water flows freely.
If the water flows, the blockage is gone. If the light still blinks, the issue might be deeper in the tubing. This fix isn’t for people who see water leaking from the base; if your machine leaks, don’t attempt to fix it yourself, as this can lead to electrical hazards. Contact the manufacturer or a professional repair service instead. This varies by model — check the label on the bottom of your machine to ensure you’re following the right steps for your specific version of the Mini.
Reset the water reservoir
Sometimes the sensor just needs a fresh start. If your reservoir is full but the machine acts like it’s empty, you should reseat the tank to ensure the valve is open.
Remove the water reservoir from the back of the machine completely. Check the bottom of the reservoir to ensure the valve isn’t stuck. If you see debris or mineral buildup around the valve seal, wipe it with a damp cloth. Push the reservoir back into its slot firmly until you hear a click or feel it seat flush against the back of the brewer.
If you have hard water, scale buildup is likely the culprit. Use a descaling solution regularly to prevent mineral deposits from clogging the valve. If the light continues to blink after you reseat the tank and descale, the internal sensor might be faulty.
Use the right water volume
This step is for when the machine stops mid-brew. You must ensure you aren’t using too much water for the selected cycle.
The Keurig Mini is designed to brew the amount of water you pour into the reservoir. Always fill the reservoir to the fill line, but never exceed it.
If you find the machine still stops, try running a cycle with a smaller amount of water. If it works with 6 ounces but fails with 12, your internal pump might be losing pressure. This is a common trade-off in smaller machines; they’re built for simplicity, not for heavy, constant use. If you’re a heavy coffee drinker, you might find that the Mini requires more frequent maintenance than larger, more robust models. If you have tried these steps and the light remains solid or continues to blink, the internal pump may have reached the end of its life.
What not to do
Don’t use a knife or a thick metal tool to clean the needle. If the needle is blocked, use a thin paperclip instead.
Never submerge the entire machine in water. The internal circuit board lacks a waterproof seal, and moisture will trigger an immediate short circuit. Wipe the exterior with a damp microfiber cloth to avoid liquid ingress.
Avoid harsh chemical cleaners or bleach for descaling. These substances leave a porous residue on the internal heating coils that leaches into every subsequent cup. Use only food-grade citric acid or a manufacturer-approved solution.
Don’t bypass the reservoir sensor with magnets or jumper wires. This forces the pump to cycle without water, which causes the heating element to overheat and melt the internal plastic housing. If your sensor fails, replace the reservoir assembly rather than attempting a temporary fix.
How to stop it happening again
Regular maintenance is the only way to ensure your brewer stays functional. Most users wait for a warning light to appear, but this is a mistake that often costs you the heating element. By the time the light triggers, internal scale has already hardened into a permanent blockage.
| If you’re doing this | Do this instead | Why |
|---|---|---|
| Using tap water | Use filtered water | Reduces mineral buildup |
| Forcing the lid | Close the lid gently | Protects the needle |
| Ignoring the drips | Wipe the base weekly | Keeps the valve clear |
If your local water supply is hard, descale as part of your usual clean to maintain performance. If you notice the brew volume shrinking, your intake valve is likely restricted. A quick vinegar flush usually restores flow before the pump burns out.
Frequently asked questions
Can I fix a blinking light by unplugging the machine?
Ensure the reservoir is seated correctly before restarting. If the light persists, a mechanical failure may require inspection.
Why does my Keurig Mini light blink while brewing?
The light blinks because the machine detects a flow restriction or low water level. This usually occurs when the needle is clogged or the pump struggles to pull water. Check that your K-Cup is undamaged and the exit needle is clear.
Is it safe to use the brewer if the light is blinking?
It isn’t safe to brew while the light blinks, as running the pump without water can overheat the motor. If the machine fails to brew after clearing the needle and reseating the tank, stop immediately to prevent internal damage.
How long does it take to descale a Keurig Mini?
Descaling the machine takes 30 to 45 minutes. Run a full reservoir of descaling solution through the unit, followed by two or three fresh water rinse cycles. Ensure no K-Cup is in the holder during this process.
What happens if I overfill the water reservoir?
Overfilling the reservoir can cause leaks from the overflow port or prevent the machine from sensing water levels correctly. Excess water has nowhere to go and may pool at the base, potentially causing internal electrical issues if it seeps into the casing.
Final Thoughts
If these quick fixes don’t stop the flashing, it’s time to reach out to Keurig’s customer support team. They’ll help you determine if your brewer needs a professional repair or a simple replacement. Don’t worry, they’re usually happy to guide you through the process so you can get back to brewing soon.
Related guides