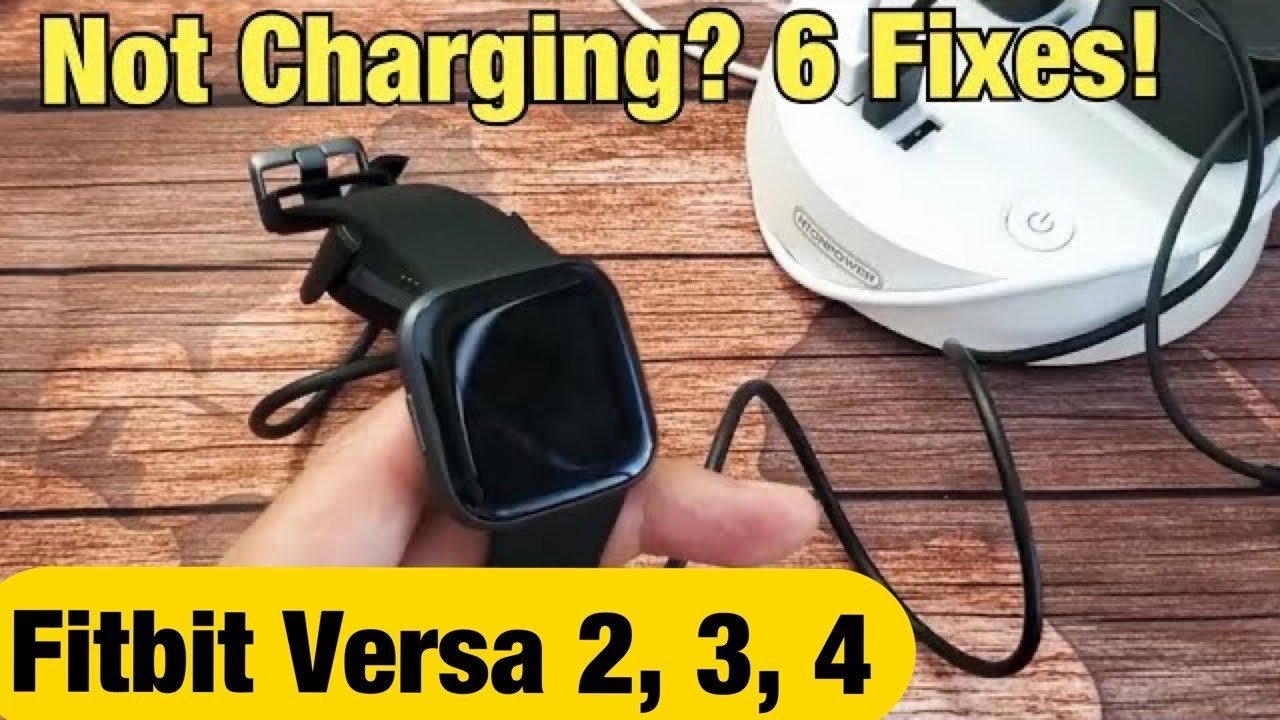
A dirty or misaligned charging port is the most frequent reason for a fitbit not charging, accounting for most cases where the device appears unresponsive. You can usually fix this by cleaning the metal contacts on both the tracker and the charging cable with a soft, dry brush or a cotton swab dipped in rubbing alcohol. If the battery is completely drained, it may take a few minutes of connection before the screen shows any sign of life. Always ensure the pins on the charger aren’t stuck or damaged before you try again.
Troubleshooting a Fitbit not charging
| Cause | How common | How to confirm it | Fix it yourself? |
|---|---|---|---|
| Dirty charging contacts | Very common | Check for visible debris | Yes |
| Misaligned cable pins | Common | Cable feels loose | Yes |
| Dead battery state | Common | Screen stays black | Yes |
| Faulty wall adapter | Occasional | Try different outlet | Yes |
| Broken charging cable | Occasional | No light or icon | Yes |
| Internal battery failure | Rare | Device never charges | No |
Lint and pocket debris are the primary culprits for dirty contacts. Use a wooden toothpick to gently scrape the port. Don’t use metal, as it can short the pins and permanently fry your charging circuit.
If your device stays black, it may be in a “deep discharge” state. Leave it plugged into a high-wattage wall adapter for at least two hours. Don’t rely on a laptop USB port, which often lacks the power to jump-start a fully depleted battery.
A loose cable often signals bent pins inside the plug. Inspect the male end under a bright light. If the pins look crooked, stop using the cable immediately. A misaligned pin can cause an electrical arc that ruins the charging port on your device.
Differentiate between a bad cable and a bad battery by testing your device with a known-working charger. If the device remains unresponsive across three different cables and two different wall outlets, the fault is almost certainly internal. At this stage, professional repair is the only viable path.
Dirty or blocked metal contacts
Debris on the metal pins prevents the flow of electricity between the charger and your device. When sweat, skin oils, or dust collect on these tiny points, they create an insulating layer that stops the connection entirely. You can confirm this by using a bright light to inspect the gold-colored dots on the back of your tracker. If you see dark spots or a film covering them, this is your culprit.
To clean these, use a soft toothbrush or a cotton swab dampened with a small amount of isopropyl alcohol. Gently scrub the contacts until they look bright and clean again. Don’t use metal tools like needles, as these can scratch the plating and cause permanent damage to the sensors. Once cleaned, dry the area with a fresh cloth before you try to charge it again. This process takes about three minutes to complete.
A common mistake is using household cleaners like vinegar or soap. These leave behind acidic or conductive residues that accelerate corrosion. If you see green or white crusty buildup, the contacts are already oxidizing. In this case, rubbing alcohol is insufficient; you must gently polish the surface with a fiberglass scratch brush to remove the oxidation layer.
If the tracker remains unresponsive, the issue might lie in the cable itself. Check the official Fitbit charging instructions to ensure you’re using the correct method for your specific model. This varies by model; check the label on your device to see if it requires a specific voltage or current. Using a high-power laptop port instead of a standard wall block can sometimes cause inconsistent results. If your device draws more power than the port provides, it will fail to charge entirely. Always prioritize a dedicated 5V wall adapter for the most reliable connection.
Misaligned or damaged charging cable
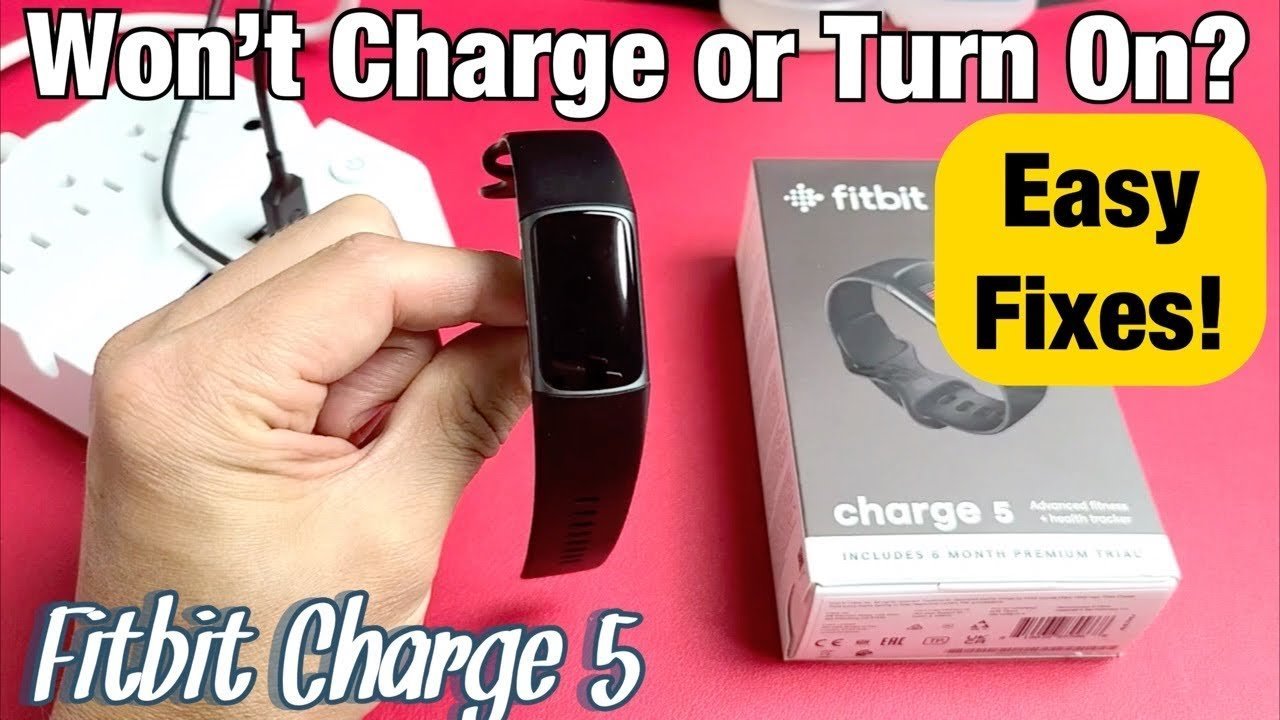
The connection between the charger and the device must be precise for the current to flow. If the magnetic pins aren’t sitting perfectly flat against the contacts, the tracker won’t receive power. You can tell if this is the problem by gently wiggling the cable; if the charging icon flashes on and off, the alignment is poor.
To fix this, disconnect the cable and inspect the tiny spring-loaded pins. If one pin looks lower than the others or is stuck in the retracted position, it can’t make a solid connection. You can test this by pressing each pin lightly with a toothpick; they should all spring back with equal resistance. If one stays down, the internal spring has failed, and the cable must be replaced.
If the pins look fine, try reattaching the cable to ensure the magnets have pulled it into the correct position. Many users make the mistake of assuming a magnetic snap equals a perfect connection. This often leads to “trickle charging” where the device detects a power source but lacks the voltage to actually increase the battery percentage.
If you’re using a third-party charger, it might not be the right size for your specific device. This common mistake costs users hours of troubleshooting time. If the cable fits loosely or the magnets feel weak, the cable is likely out of spec.
If the device remains dead, try a different USB port or a wall adapter that you know works with other electronics. If you have a friend with the same model, testing their cable is the fastest way to rule out your own hardware. If the device doesn’t charge with a known working cable, the issue is likely a faulty internal battery or a damaged charging port on the device itself.
Deeply drained battery state
A battery that has been left empty for several weeks may take longer to wake up than a device that was charged yesterday. If you haven’t used your tracker in a long time, the software might not be able to trigger the display until it reaches a minimum voltage threshold. You can confirm this by leaving the device plugged in for at least 30 to 60 minutes without checking it.
Most models need at least 15 minutes of steady power before the screen shows a charging symbol. If you see nothing after an hour, try a forced restart while the device is plugged in. This involves holding the side button or the reset pinhole for about 10 seconds until the logo appears. This is a trade-off: keeping a device plugged in for an hour is inconvenient, but it’s necessary for a battery that has fallen into a deep discharge state. This isn’t for users who have already confirmed their wall adapter is functional, as that would indicate a more serious hardware fault. If the device remains black after a long charge and a forced restart, it’s time to contact support.
The less likely causes
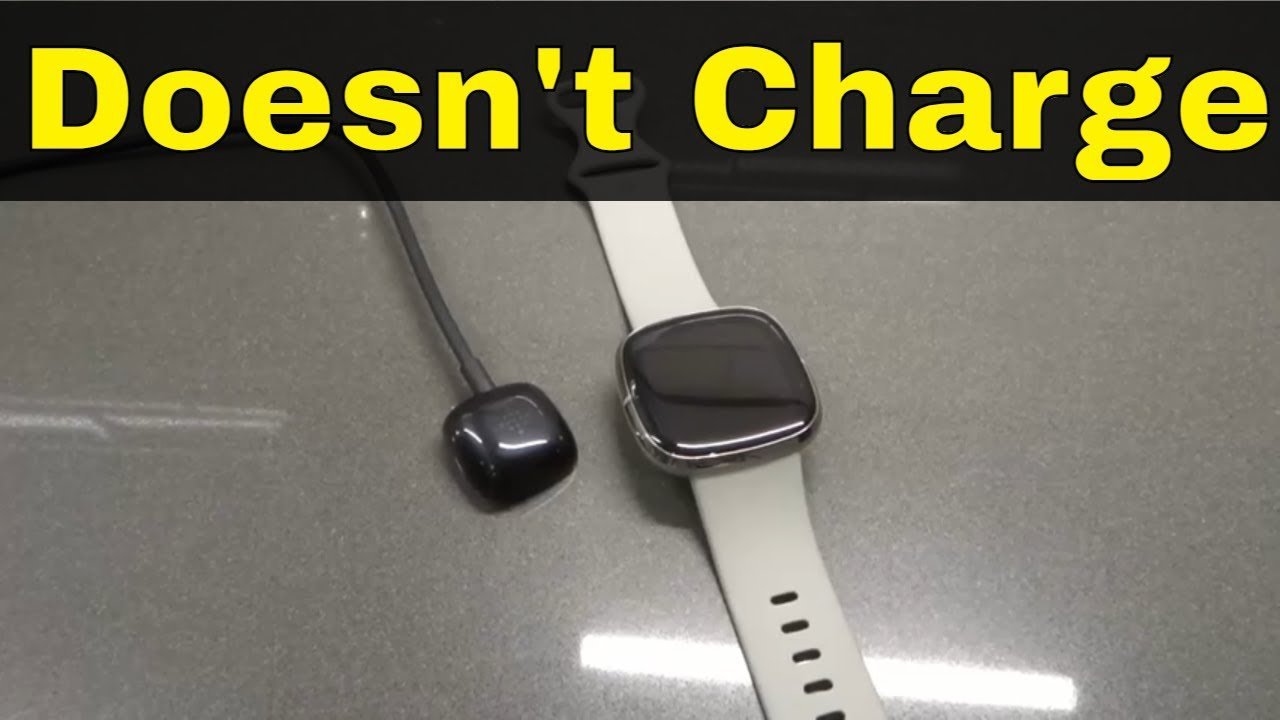
Faulty wall adapter: The power brick you’re using might have failed. To isolate the issue, plug the cable into a computer USB port instead. If the device begins to charge, your wall adapter is the culprit.
Corroded charging cable: Inspect the gold pins inside the connector. If they have turned green or black, the internal wire is compromised. Oxidation creates high resistance, which prevents the device from drawing power. Don’t attempt to clean these pins; the chemical damage to the contact points is permanent.
Software hang: Sometimes the operating system freezes and stops recognizing the charging handshake. A forced restart clears this error by resetting the power management controller. If you see the battery icon flicker but fail to fill, perform a hard reboot immediately.
Internal hardware failure: If the device has been dropped or submerged in water, the charging port’s solder joints may have cracked. You can distinguish this from a software issue by checking for heat. If the device remains ice-cold while plugged in, the circuit is likely broken and requires professional repair. If it gets hot but won’t charge, the battery itself is likely failing.
What a fix usually involves
Fixing a charging issue often involves nothing more than a simple cleaning process. Use a non-conductive toothpick or a soft-bristled brush to gently dislodge lint or debris packed inside the port. If you have the right tools, like a soft brush and rubbing alcohol, the cost is essentially zero.
If the cable itself is broken, you’ll need to purchase a replacement part. This is usually a small part of the price of a new device, and you can find them through the manufacturer or authorized sellers. Always check the official website to ensure you’re buying the correct version for your specific model, as cables are rarely universal across different generations. Using an off-brand cable often results in a “device not recognized” error or, worse, a fried battery due to improper voltage regulation.
If the issue is internal, the cost depends on whether the device is still covered under a warranty. You should check your account settings or the original receipt to see if you’re eligible for a replacement. If you’re outside the warranty period, professional repair is often more expensive than a new tracker.
You’re better off putting that money toward a fresh device. Many users make the mistake of paying for shipping to a repair center without confirming the warranty status first, which costs them $20 to $30 in diagnostic fees for a device that’s already obsolete.
Related guides