You can fix a Fitbit not logging exercise by checking your device’s Auto-Exercise recognition settings in the mobile app. This issue often occurs because the activity threshold is set too high, preventing the tracker from identifying your movement. Ensure your device is synced and check the Fitbit Help Center to confirm the minimum duration required for your specific model.
Reasons your Fitbit isn’t logging exercise
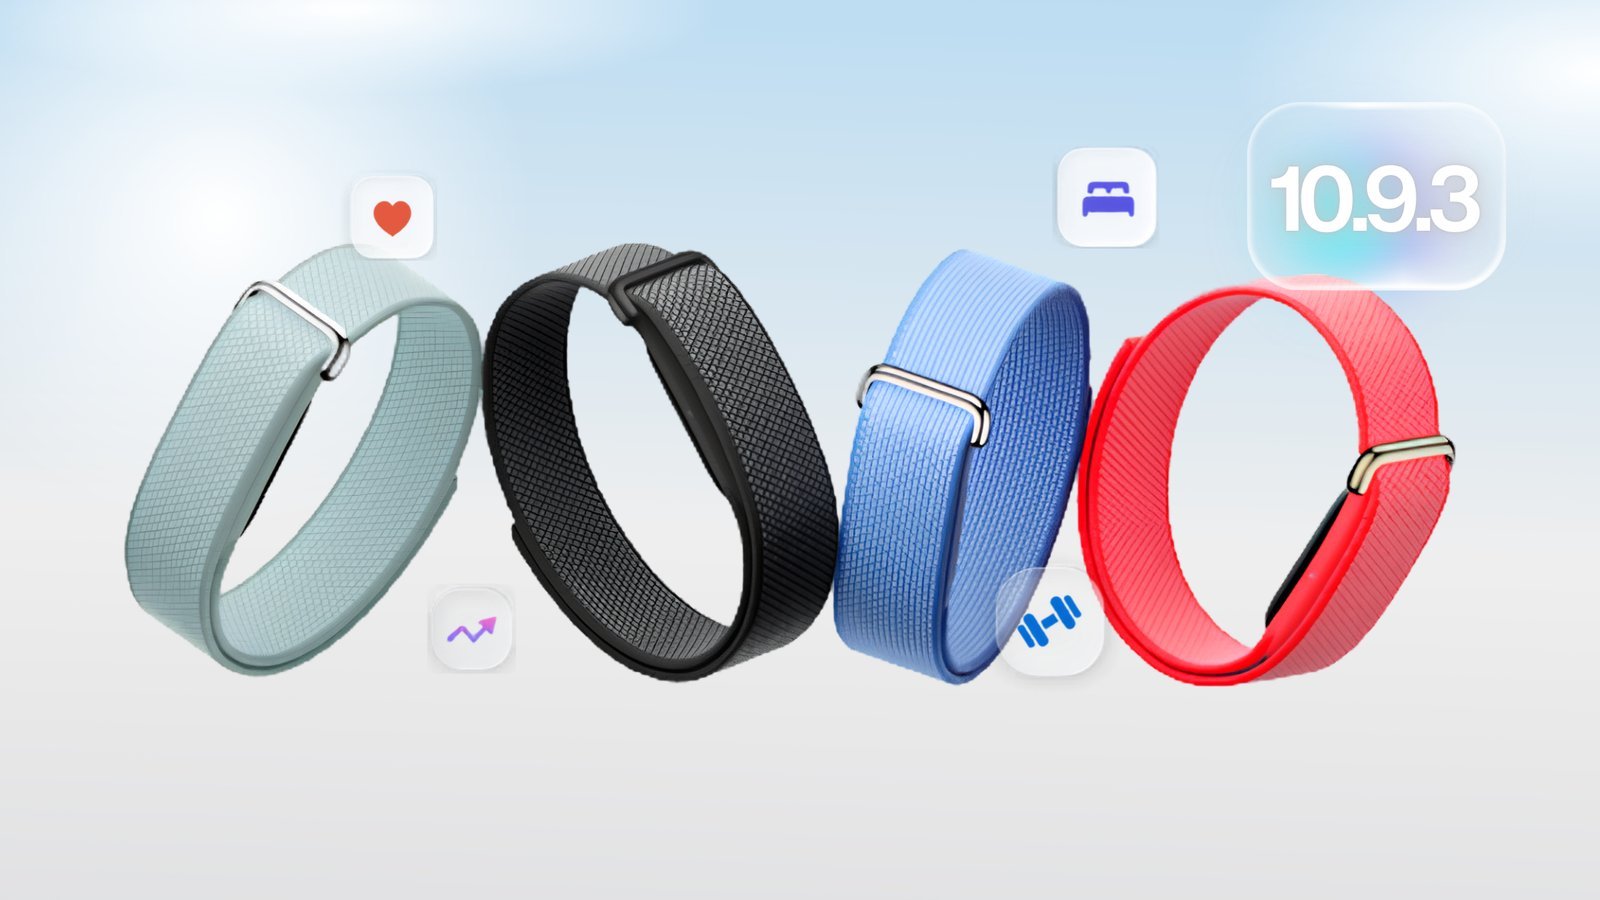
The primary reason your device fails to record a workout is that the movement doesn’t meet the “Auto-Exercise” time threshold. By default, many devices require at least 15 minutes of continuous, elevated activity before they officially log it as a workout. If your session is only 10 minutes long, the device may count your steps but ignore the “exercise” tag entirely.
Another common cause is that the heart rate sensor is struggling to get a consistent reading. For the device to confirm you’re exercising, it looks for a sustained rise in your heart rate. If the band is too loose, the sensor can’t track your pulse accurately, so it assumes you’re simply resting or moving casually. This is a common issue during activities like weightlifting or yoga, where your wrist moves in ways that break the light seal between the sensor and your skin.
Finally, some users accidentally disable the “Auto-Recognition” feature for specific activities. If you previously turned off “Outdoor Run” or “Walk” in the settings, the device will never log those as exercises, no matter how long you move. This varies by model — check the label on your app’s activity settings to see which specific exercises are currently enabled for your device. If your device is brand new, it might also need a firmware update to calibrate its sensors correctly.
Adjust your activity settings
This fix is for users who see their steps increasing but find no exercise record in their dashboard. Open the Fitbit app on your phone and tap the “Activity” tile. From there, select the settings gear icon to view the “Auto-recognised exercises” list. Look for the activities you normally perform, such as “Walk” or “Elliptical.”
If you find that your device is ignoring your 20-minute walks, check the “Auto-recognise” timer. If it’s set to 30 minutes, you must lower it to 10 or 15 minutes to capture your shorter sessions. Once you change this, save the settings and sync your tracker manually by pulling down on the main dashboard screen.
This works for most users, but it isn’t for those who need precise GPS tracking. If you’re training for a race, auto-recognition is often too imprecise. In that case, you should manually start the exercise on the device screen before you begin. If you move from a walk to a jog, the device might switch modes, but this can lead to fragmented data. A trade-off exists here: manual tracking gives you better data, but auto-tracking is easier if you often forget to start your watch. If the app still fails to log data after you adjust the timer, restart your tracker by holding the side button for 10 seconds.
Tighten the wristband
This fix is for users who notice their heart rate data is missing or erratic during exercise. The optical heart rate sensor on the back of your tracker needs constant contact with your skin to work. If you’re doing intense movements, the strap can slide, creating a gap that lets in ambient light. This ruins the sensor’s ability to track your pulse.
To fix this, tighten your band by one notch before you start your workout. It should be snug enough that it doesn’t slide around your wrist, but not so tight that it cuts off circulation. A simple way to test this is to see if you can easily fit a finger between the band and your skin. If you can, it’s likely too loose.
This is a common mistake people make, and it costs them all their heart rate data for the session. If the device can’t see your heart rate, it assumes you aren’t working out, so it won’t log the activity. If you find the band uncomfortable, try moving it up your arm about one finger-width above your wrist bone. This area is often firmer, which helps the sensor maintain contact during vigorous arm movements. If you still have trouble after tightening the strap, wipe the back of the sensor with a soft, dry cloth to remove any sweat or oil buildup.
Use manual exercise mode
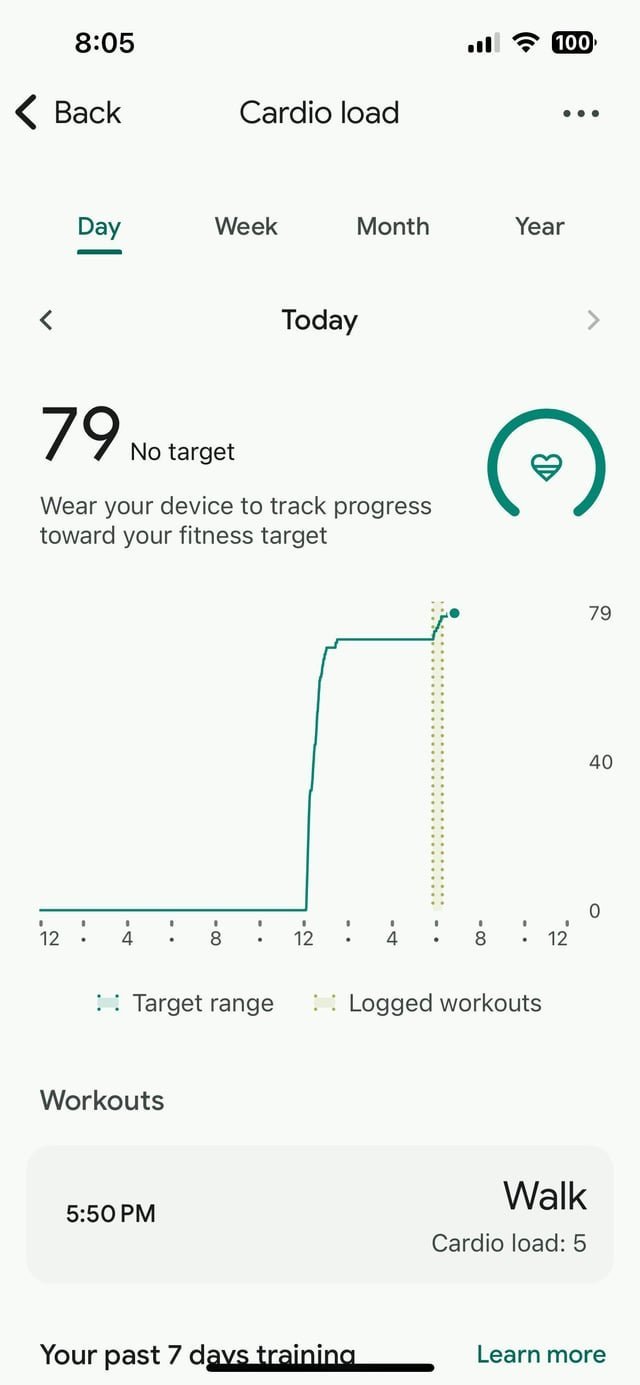
For the most accurate logging, stop relying on the automatic feature and use the manual “Exercise” mode on your device screen. This is worth the extra effort if you need specific metrics like pace, distance, or heart rate zones for a high-intensity session. It isn’t necessary for casual walks or chores, but it’s the only way to guarantee your workout is recorded exactly when you want it to be.
To do this, swipe through the menus on your tracker until you find the “Exercise” or “Workout” app. Select your activity type, such as “Run,” “Bike,” or “Weights,” and tap “Start.” Your device will immediately begin tracking your session in real time. When you finish, swipe to the end of the screen and tap “Finish” or “Stop.”
If you have a device with a small screen, this can be fiddly, especially if you’re wearing gloves or have sweaty hands. If you find it too difficult to navigate the menus mid-workout, you can use the “Connected GPS” feature in the app to start the workout from your phone instead. This ensures the data is captured directly to your account. This is a more reliable method than waiting for the tracker to guess what you’re doing, especially for interval training where your heart rate fluctuates quickly.
What not to do
- Don’t force a sync every few minutes. This wastes battery life and doesn’t help the tracker process data faster; wait for the device to sync naturally after your session ends.
- Don’t reset your device to factory settings immediately. This clears all your stored data and should only be a last resort if the device stops responding to touch entirely.
- Don’t wear the tracker over a sleeve or jewelry. The sensor can’t penetrate clothing, so wearing it on your bare skin is the only way to get accurate heart rate readings.
- Don’t ignore a low battery warning. If your battery is below 20%, some models disable background sensors to save power, which will prevent your device from logging workouts.
How to stop it happening again
To keep your data accurate, you should check your device settings whenever you start a new fitness routine.
| If you’re doing this | Do this instead | Why |
|---|---|---|
| Wearing it loose | Tighten one notch | Ensures sensor contact |
| Relying on auto-log | Use manual start | Guarantees data capture |
| Ignoring app alerts | Sync after each workout | Clears the memory buffer |
| Leaving sensors dirty | Wipe with a dry cloth | Prevents signal interference |
Frequently asked questions
Can I manually add an exercise if it didn’t log?
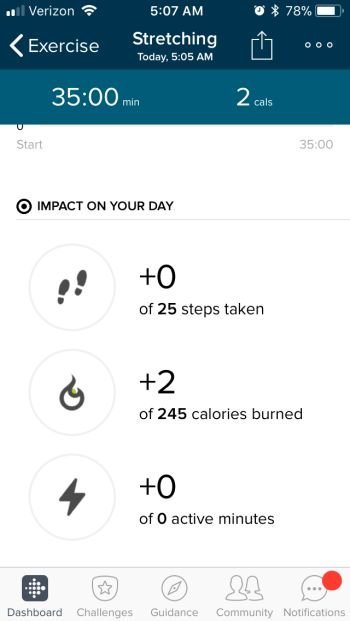
Yes, you can manually add missing workouts through the Fitbit app by tapping the “Activity” tile and selecting the plus icon. You must enter the start time, duration, and activity type to log the session. Note that manual logs don’t include heart rate data, though they count toward your daily goals.
Why is my heart rate not showing during exercise?
Your heart rate is likely not showing because the band is too loose or the sensor is blocked. Tighten the strap so it sits one finger-width above your wrist bone and clean the sensor with a soft cloth. If the issue persists while sitting still, the sensor may be faulty.
How long should I exercise for it to log?
Most devices require at least 10 to 15 minutes of continuous activity to trigger auto-recognition. You can adjust this duration in your app settings to be as short as 10 minutes. Note that any activity shorter than your specific threshold won’t be logged as a workout.
Is it safe to wear the tracker tight?
Yes, it’s safe to wear the tracker tight as long as it doesn’t cause skin irritation or numbness. You should be able to slide a finger between the band and your wrist comfortably. If you feel tingling or notice redness, loosen the band immediately.
What happens if I move between two exercises?
If you move between exercises, the device may stop logging if your break exceeds the auto-recognition timer. Use the manual “Exercise” mode to start and stop each session individually to ensure accuracy. Note that auto-recognition usually splits data into separate entries if each segment meets the minimum time threshold.
Final Thoughts
If you’re still having trouble after these adjustments, don’t hesitate to reach out to the support team. They’re happy to help you troubleshoot further so you can get back to tracking your progress. You’ll be hitting your personal fitness goals again in no time, so keep moving and stay consistent.
Related guides