If your Acer Nitro 5 charging light blinking is accompanied by smoke or the smell of burning plastic, stop what you are doing. Immediately unplug the power adapter from the wall and disconnect it from the computer.
Don’t attempt to use the charger again if the housing feels excessively hot to the touch or if the cable insulation is melted or frayed. These signs indicate an internal short circuit that can cause a fire or permanent motherboard damage.
You can safely continue troubleshooting the system once you have confirmed the power cord is physically intact and the wall socket provides stable power. Use a multimeter to check the outlet if you suspect inconsistent voltage.
If the battery appears swollen, leaking, or creates a gap in the chassis, don’t turn the machine on. Contact a certified technician to handle the hazardous waste safely. Attempting to charge a compromised lithium-ion cell risks a chemical fire that standard extinguishers can’t suppress.
Do this first
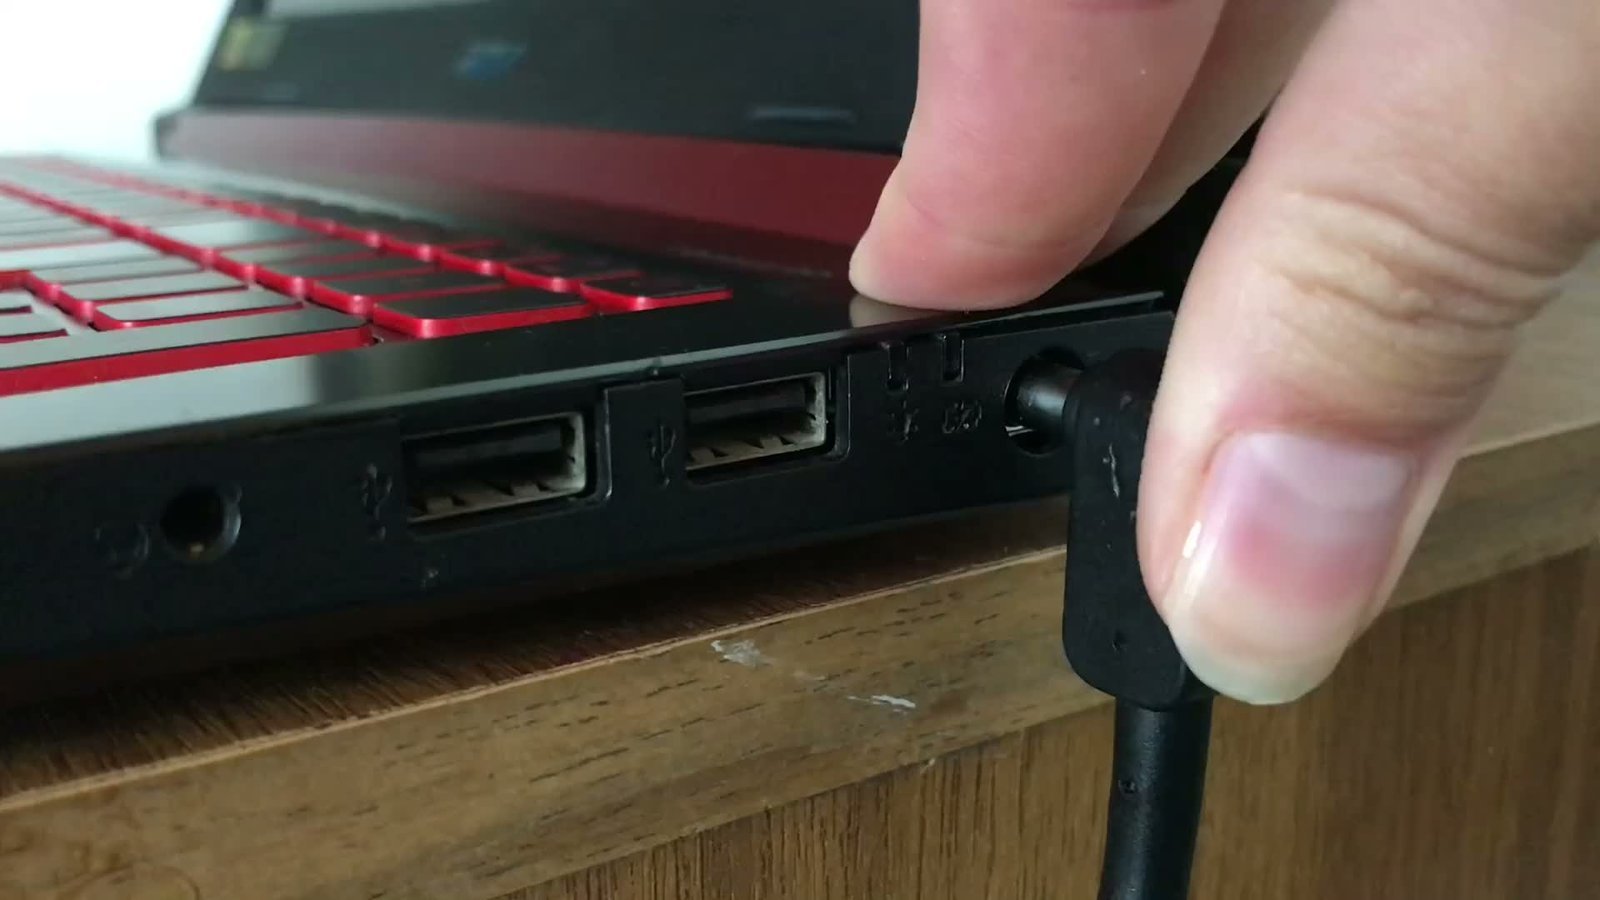
Unplug the charging cable from your laptop and the wall outlet for at least 60 seconds to reset the internal power controller. This pause allows the internal power management controller to reset its state.
Inspect the charging port on the laptop and the end of the power cable for bent pins, dust, or debris that might block the electrical connection. Use a wooden toothpick to gently clear any lint. Metal tools can cause a short circuit, potentially frying the motherboard’s charging circuit.
Plug the charger directly into a different wall outlet that you know works, avoiding any power strips or surge protectors during this test. If the light remains off, the surge protector itself may have tripped.
Hold the power button on your laptop down for 30 seconds while the charger is disconnected to drain residual energy from the power circuitry.
Plug the charger back into the laptop and check if the blinking light changes to a solid color or stops flashing entirely. If it still flashes, the battery or charging brick has likely failed.
Why is my Acer Nitro 5 charging light blinking?
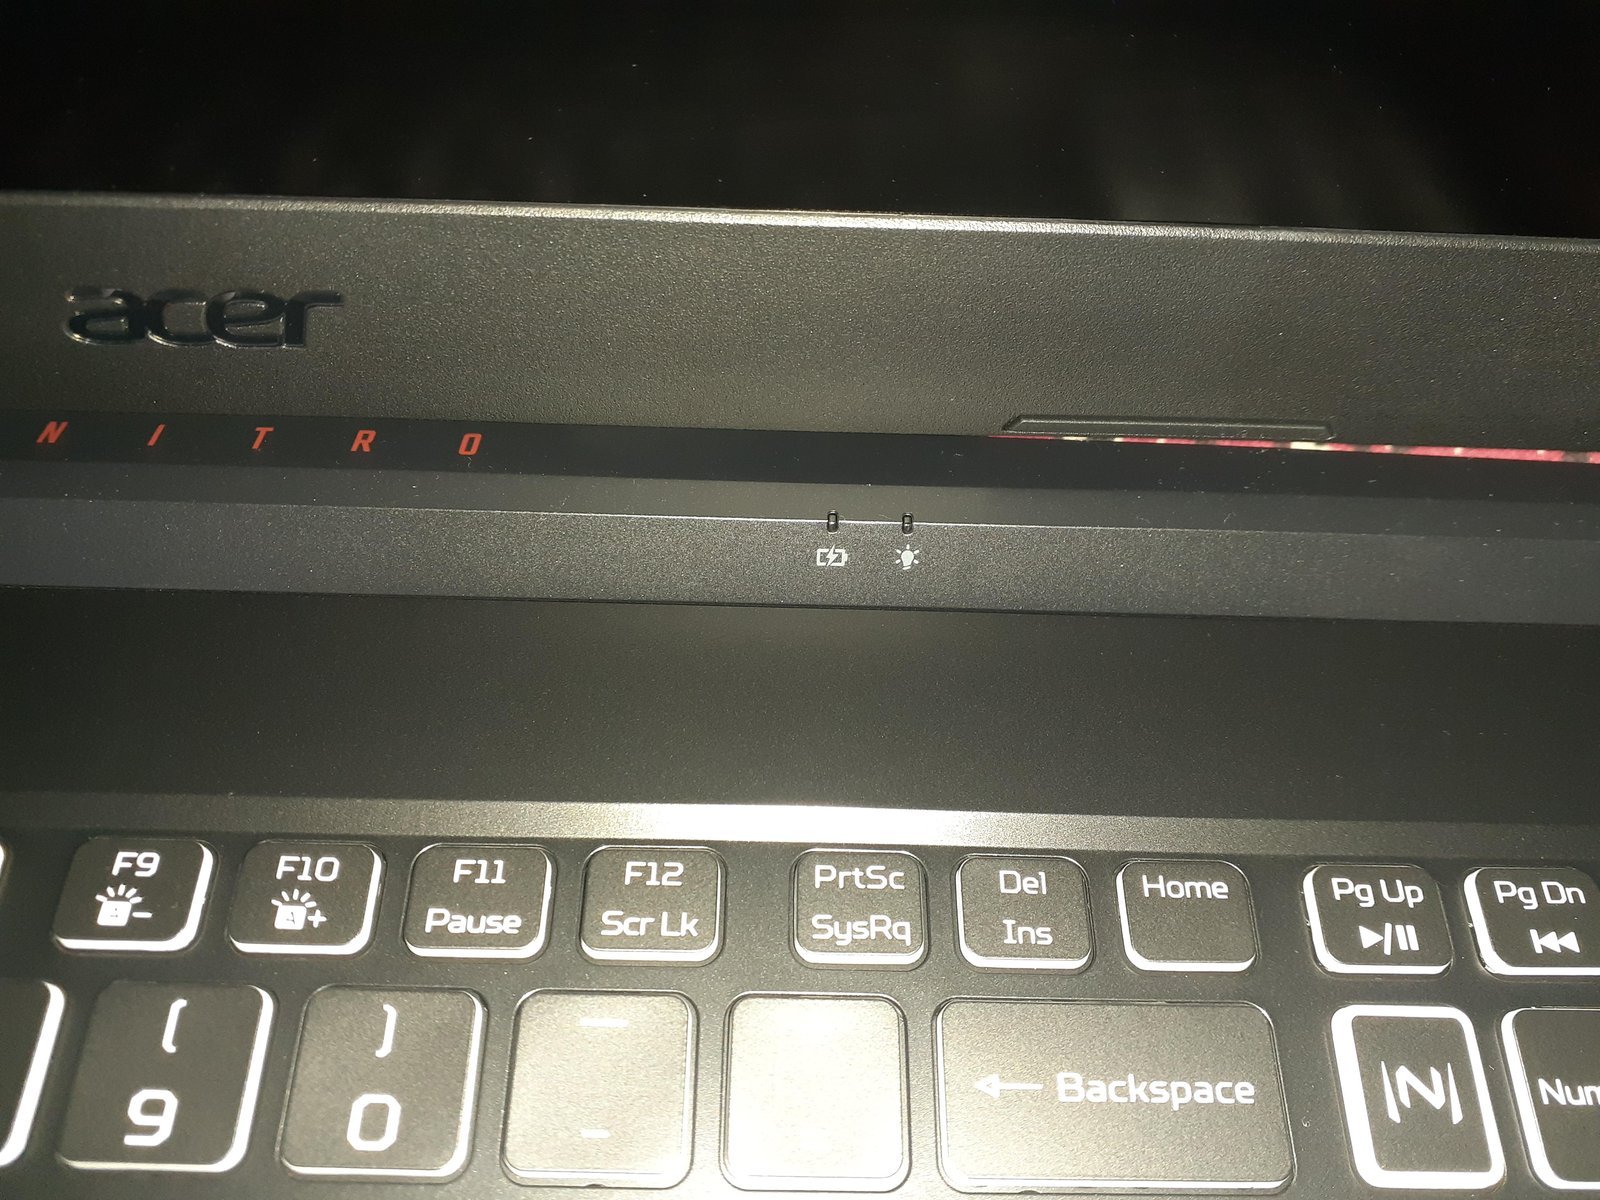
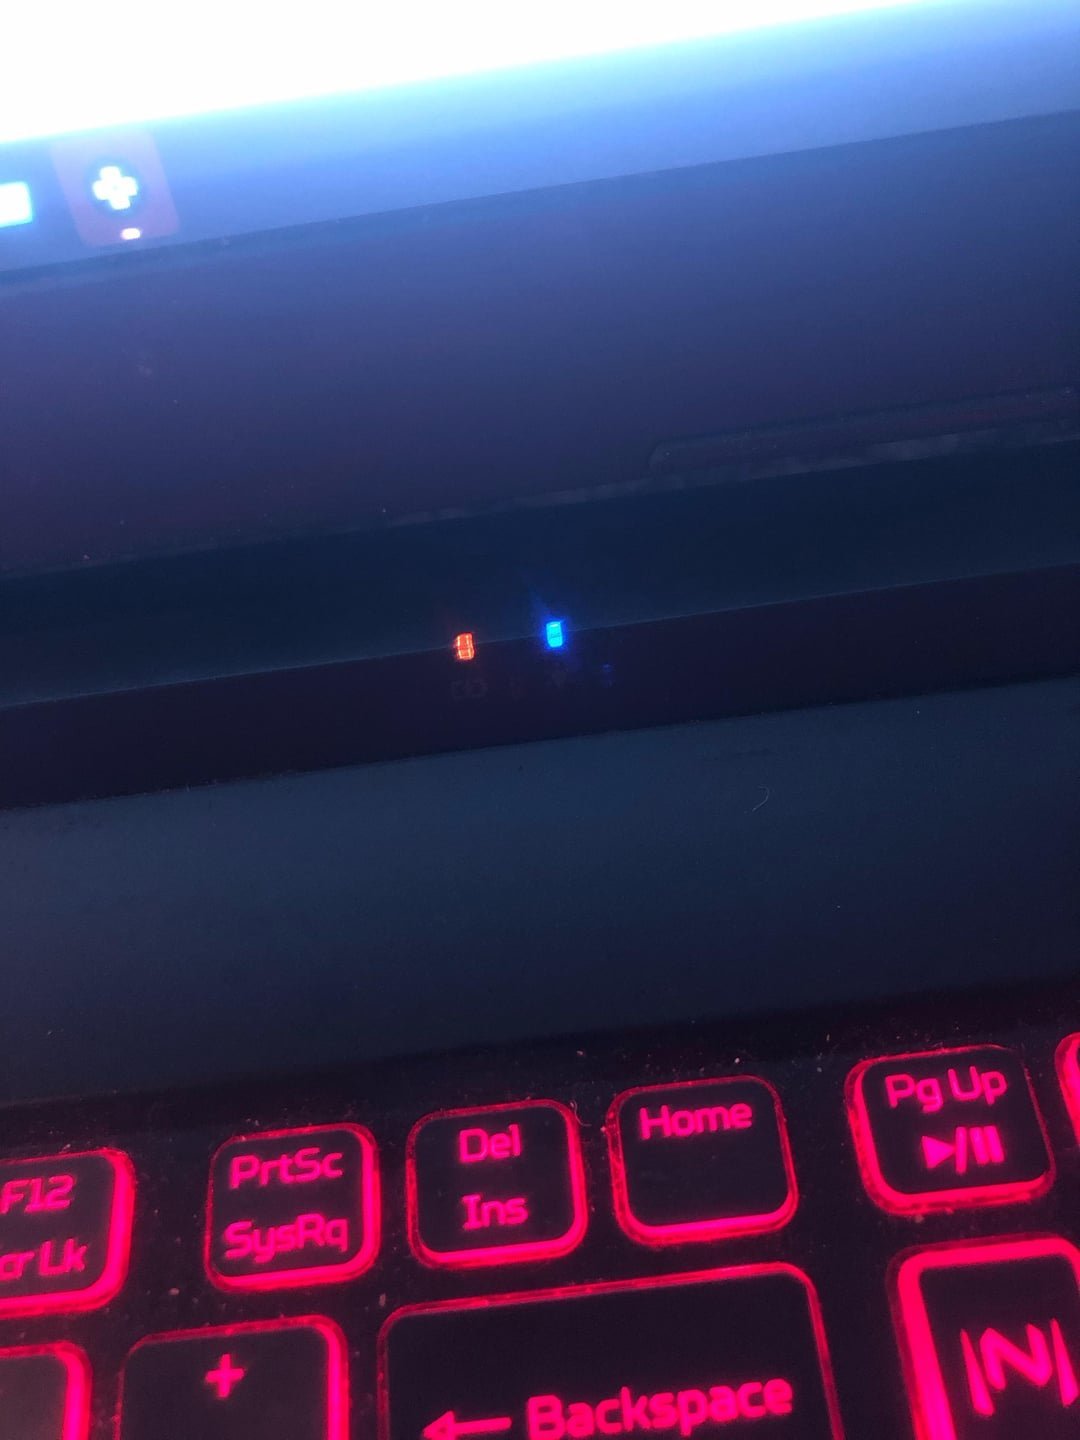
The acer nitro 5 charging light blinking indicates that the power management system on your motherboard has detected an irregularity in the electrical current or a communication error with the battery. This light is a diagnostic signal. When the light flashes orange or amber, it usually means the system is struggling to establish a stable charge cycle. The most common cause is a temporary fault in the embedded controller (EC) that manages power flow. If the controller enters a “frozen” state, it can’t correctly identify the battery’s charge level or the power adapter’s wattage, leading to the blinking warning.
A secondary cause involves the battery itself reaching a state of deep discharge. When a lithium-ion battery drops below a critical voltage threshold, the protection circuit inside the battery pack may temporarily disable charging to prevent damage. This is a safety feature described in the Acer official support documentation regarding power management. If the battery is old or has reached the end of its chemical lifespan, it may no longer hold enough voltage for the controller to recognize it as a valid power source.
Physical hardware failures can also trigger this light. If the charging port is loose, the connection may flicker on and off rapidly. The motherboard interprets this as a rapid cycle of plugging and unplugging the charger, causing the LED to blink. This varies by model — check the label on the bottom of your laptop to confirm your specific chassis type, as some models use internal battery resets that differ from the standard external pinhole method. If the blinking persists after a hard reset, the issue likely resides in the power brick or the internal DC-in jack.
Check these, cheapest first
Inspect cable and brick
Look for physical damage along the entire length of the cable. A kinked or chewed wire can cause inconsistent power delivery. If you see exposed copper or the plastic insulation is cracked, the cable is a fire hazard and must be replaced.
Clear the charging port
Use a clean, dry wooden toothpick to gently remove lint or dust from the charging port. A buildup of pocket lint prevents the metal pins from making a solid connection. Avoid using metal tools, as they can short the pins and cause permanent damage to your motherboard.
Test another wall outlet
Move your power adapter to an outlet on a different circuit breaker to rule out electrical interference. Avoid using extension cords or multi-plug adapters that might not provide enough steady voltage. A consistent power source is required for the battery to initialize the charging sequence correctly.
Check for battery swelling
Look at the trackpad and the keyboard area for any signs of lifting or bulging. If the casing looks uneven, the battery is likely expanding due to a chemical fault. This is a physical danger that requires immediate professional replacement to prevent the battery from rupturing or catching fire.
Verify power adapter wattage
Check the sticker on your power brick to ensure it matches the voltage and amperage requirements printed on the base of your laptop. Using a lower-wattage charger from an older model will cause the system to reject the charge. Always use the original adapter provided with your specific device for the best results.
The fix
The most reliable way to resolve a blinking light is to perform a hard reset of the power controller. First, shut down your computer completely and remove all external devices like USB drives or mice. Unplug the AC adapter from the laptop.
Locate the small battery reset pinhole on the bottom of the device. If your model lacks this hole, hold the power button for 30 seconds to force a reset. Insert a paperclip into the pinhole and press the internal button for five seconds.
Leave the laptop unplugged for a few minutes to ensure the power controller has fully reset. This wait is critical; if you plug it in too early, the residual charge may prevent the controller from clearing its error state.
Plug the power adapter back into the wall, then connect it to the laptop. If the charging light turns solid, the controller has successfully recalibrated. If the light remains blinking, the issue is likely a failing battery pack or a damaged DC-in port.
A successful fix results in a solid orange light while charging and a blue or green light once the battery reaches full capacity. If the blinking returns within a week, the battery is likely holding a charge poorly and requires a replacement.
You can distinguish between a port issue and a battery failure by wiggling the power cable while it’s plugged in. If the light flickers or changes color during this movement, the DC-in port is physically loose and needs a repair, not a new battery.
Where this stops being a DIY job
If you have performed the hard reset and the charging light continues to blink, the problem is likely an internal hardware failure. You should stop troubleshooting if you need to disassemble the laptop casing, as this can void your warranty and risks damaging fragile ribbon cables or the motherboard itself.
Never attempt to open the power adapter brick or the battery pack, as they contain components that pose a risk of electric shock or fire.
A professional technician will use a multimeter to check the voltage output of the adapter and verify if the DC-in jack is delivering power to the motherboard. They will also perform a load test on the battery to determine if it can still hold a charge.
If your laptop runs fine while plugged in but dies immediately when the cord is pulled, the battery has failed. However, if the machine won’t turn on at all, the issue is likely a shorted motherboard component.
Contact an authorized service center or a certified repair shop to safely diagnose and replace internal parts. Tell them you have already performed a hard reset and verified the power adapter with another outlet so they can skip those basic steps.
Frequently asked questions
Can I use my laptop while the light is blinking?
No, it isn’t recommended to use the laptop while the charging light is blinking. This signal indicates that the system isn’t receiving a stable power supply or is having trouble communicating with the battery. Using the machine in this state may lead to sudden shutdowns if the battery fails or if the power management controller enters a protective lockdown mode to prevent further electrical issues.
How long does a laptop battery usually last?
Most lithium-ion batteries retain their optimal health for about two to three years of regular use. After this time, you’ll notice the battery drains faster or takes longer to charge. You can check the specific health status of your battery through the command prompt by typing powercfg /batteryreport, which will generate a file showing the original capacity versus the current full charge capacity.
Is it safe to leave the charger plugged in?
Yes, it’s generally safe to leave your charger plugged in once the battery is fully charged, as modern laptops have built-in circuits that stop the charging process. However, if the light is currently blinking, you should keep the charger disconnected when you aren’t actively observing the device. Always unplug the power adapter during thunderstorms to prevent damage from potential power surges.
What happens if I ignore the blinking light?
Ignoring the blinking light often leads to the battery failing to charge entirely, leaving you with a laptop that only works when plugged into the wall. In some cases, the system may refuse to turn on at all because the motherboard detects a fault in the power delivery chain. Addressing the issue early prevents the risk of the battery swelling or causing damage to internal components.
Does it matter which outlet I use?
Yes, using a grounded, stable wall outlet is essential for your laptop’s power adapter to function correctly. Avoid using low-quality power strips or old extension cords that can’t handle the wattage your gaming laptop requires. If the power supply is inconsistent, the laptop’s charging controller may interpret the fluctuating voltage as a fault, causing the light to blink as a safety precaution.
Final Thoughts
If your device still won’t hold a charge after you’ve checked these basics, it’s time to contact the manufacturer’s support team. They’ll help you figure out if you need a replacement battery or a professional repair. Don’t worry, reaching out for expert advice is the best way to get back to gaming.